Guide · Updated 6 August 2026
How to set up a fundraising campaign, step by step.
Every ticket, auction, marketplace listing and donor registration in Give From Heart hangs off a campaign — so this is the guide to start with. It walks the real setup wizard end to end, with a screenshot at every screen.
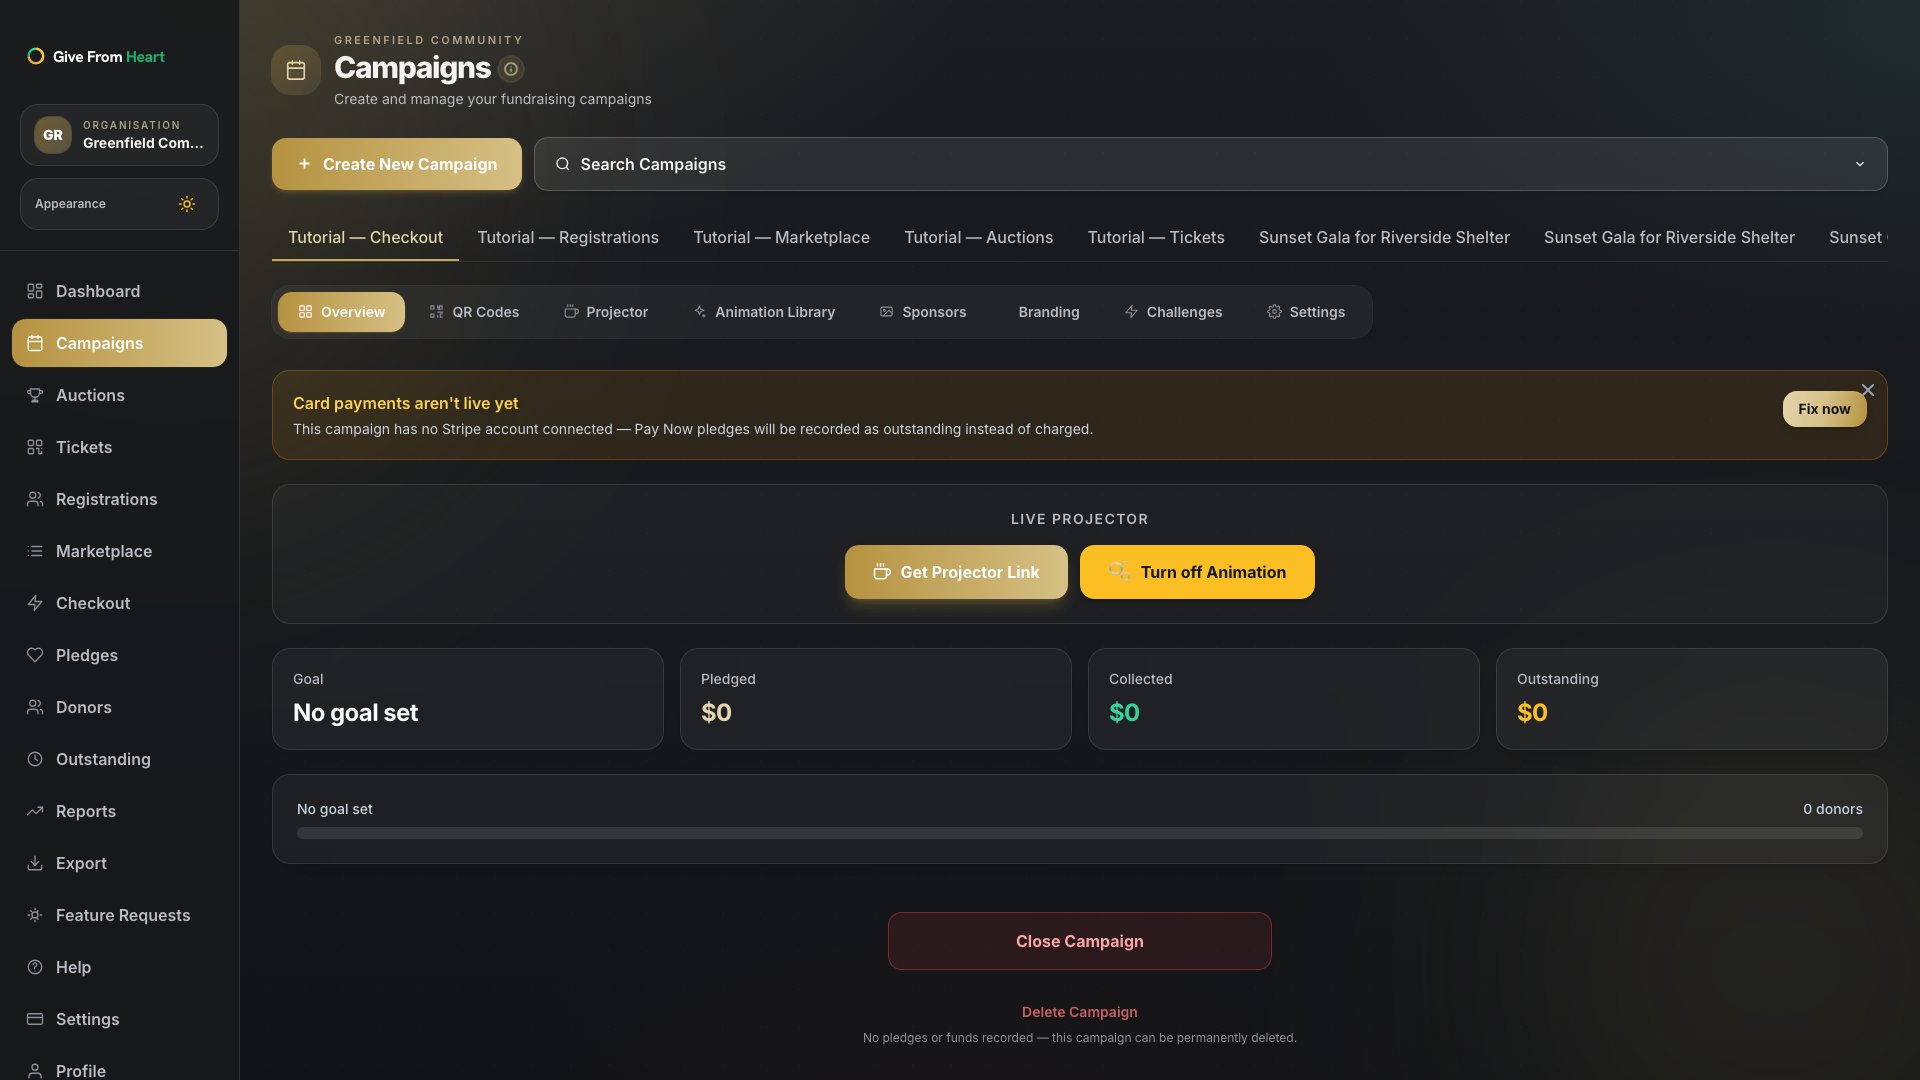
1. Start a new campaign
From Campaigns in the left nav, press "Create New Campaign." This opens a short wizard — nothing is saved until you reach the logo step, so you can back out at any point before that with no half-created campaign left behind.
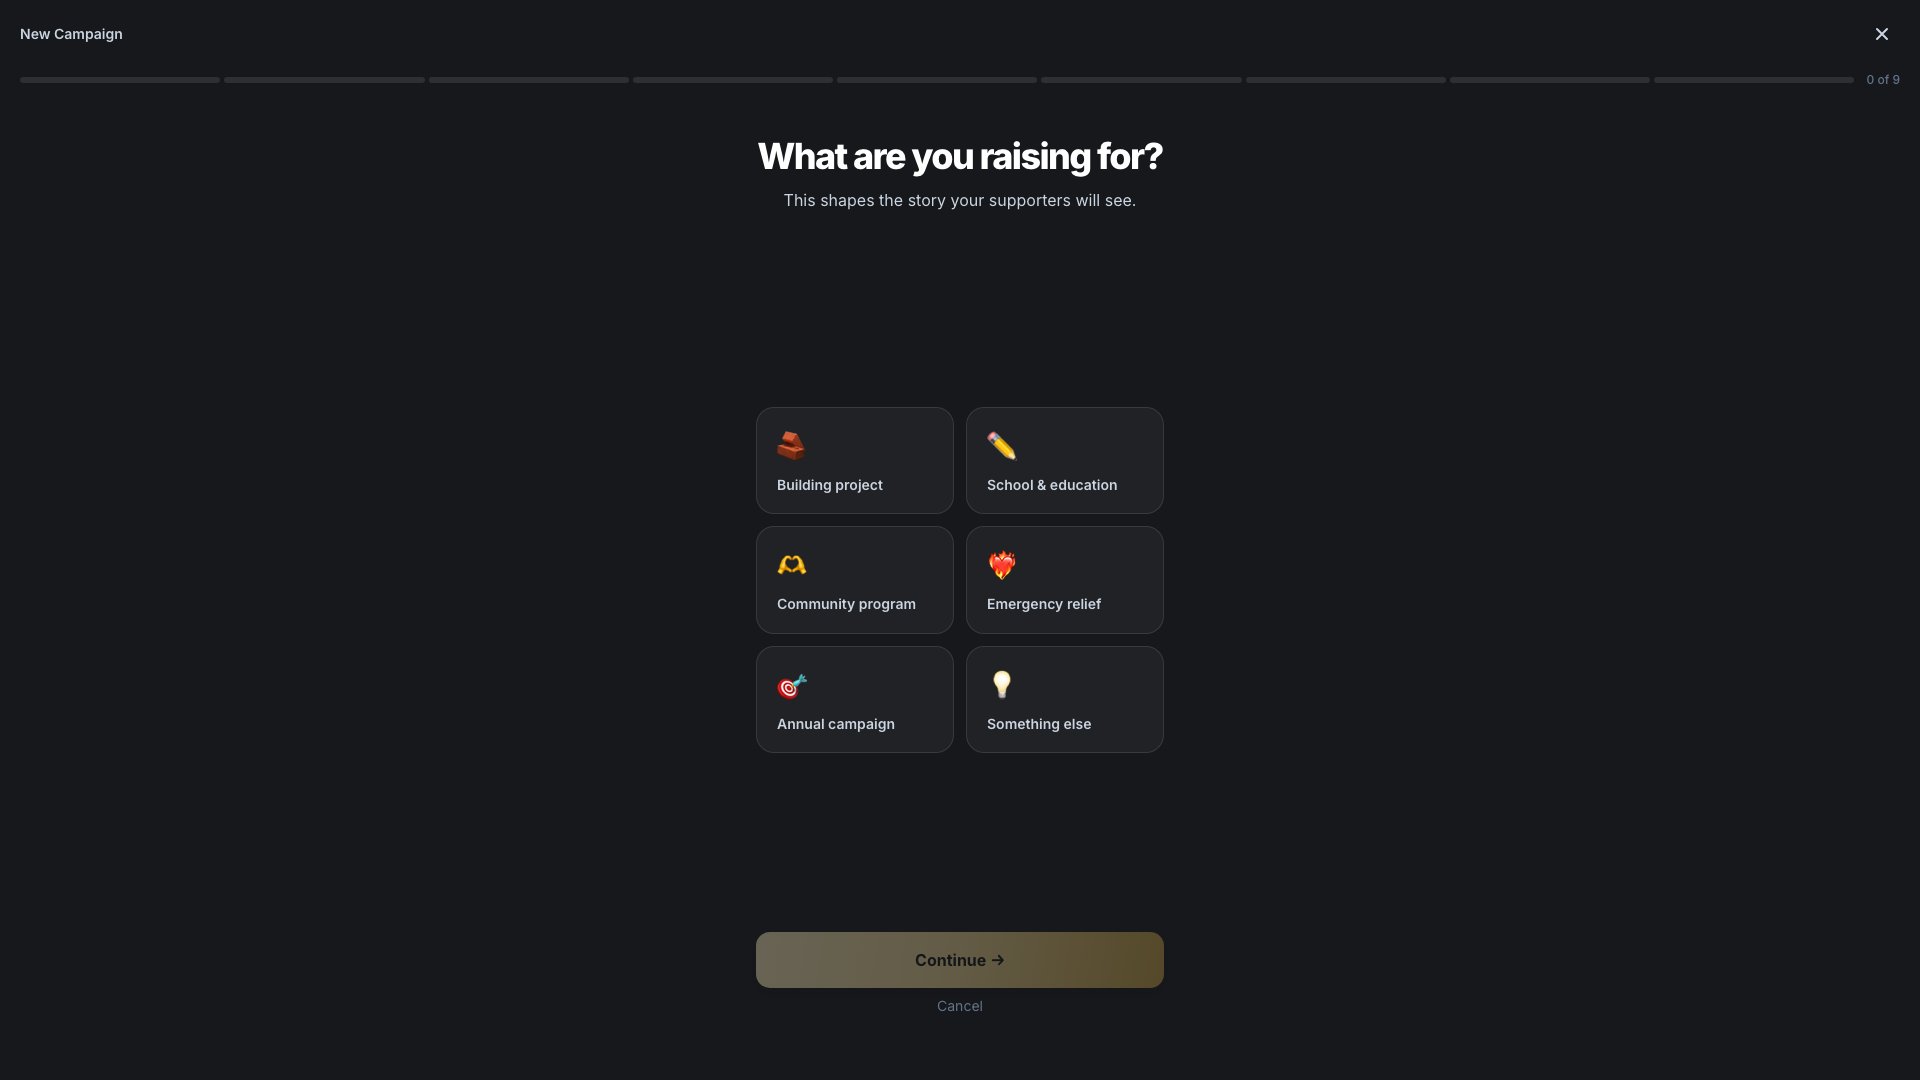
2. Choose what you’re raising for
Pick the purpose closest to your event — building project, school & education, community program, emergency relief, an annual campaign, or something else. This only shapes the name suggestions on the next screen; it doesn’t lock anything in or change what features are available.
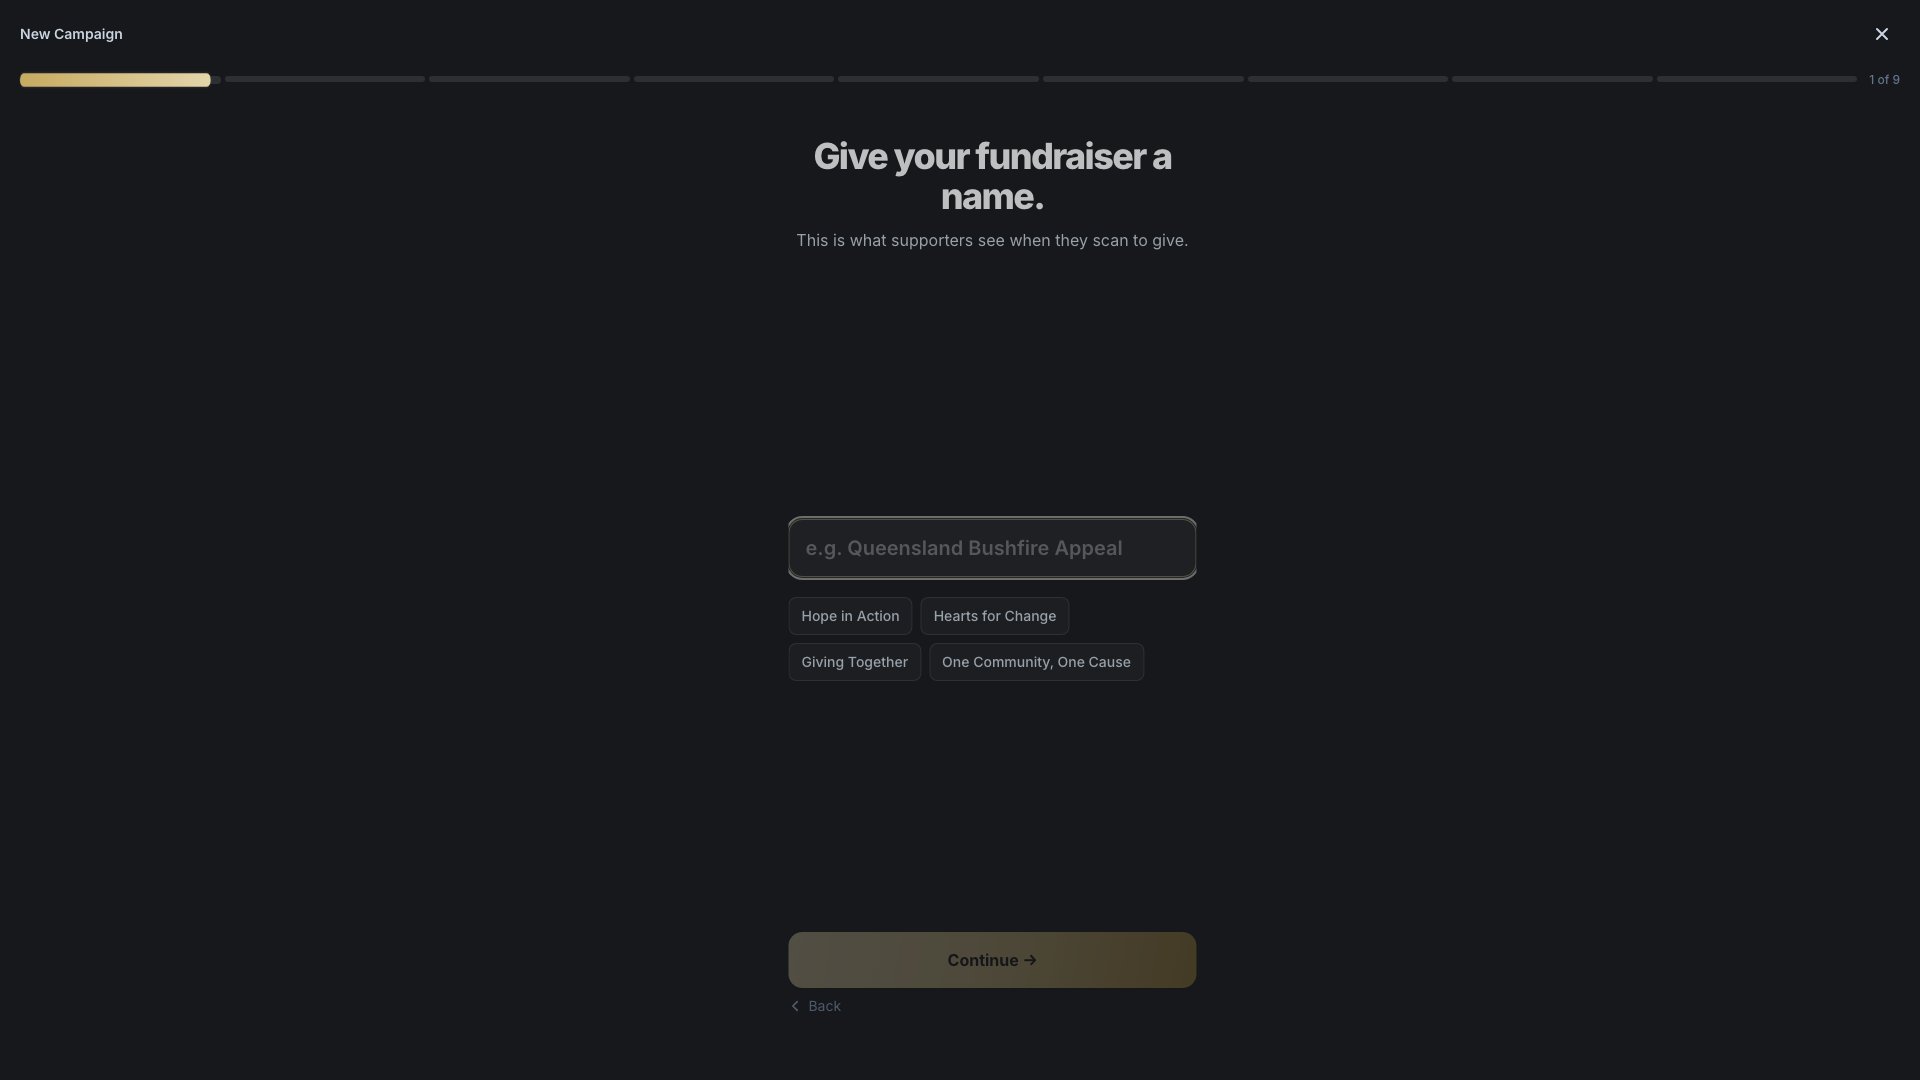
3. Name the campaign
Type a name or pick one of the suggested names for your purpose. This is what supporters see when they scan your QR code or open your link — it’s worth a specific name ("Riverside Shelter Winter Appeal") over a generic one ("2026 Fundraiser").
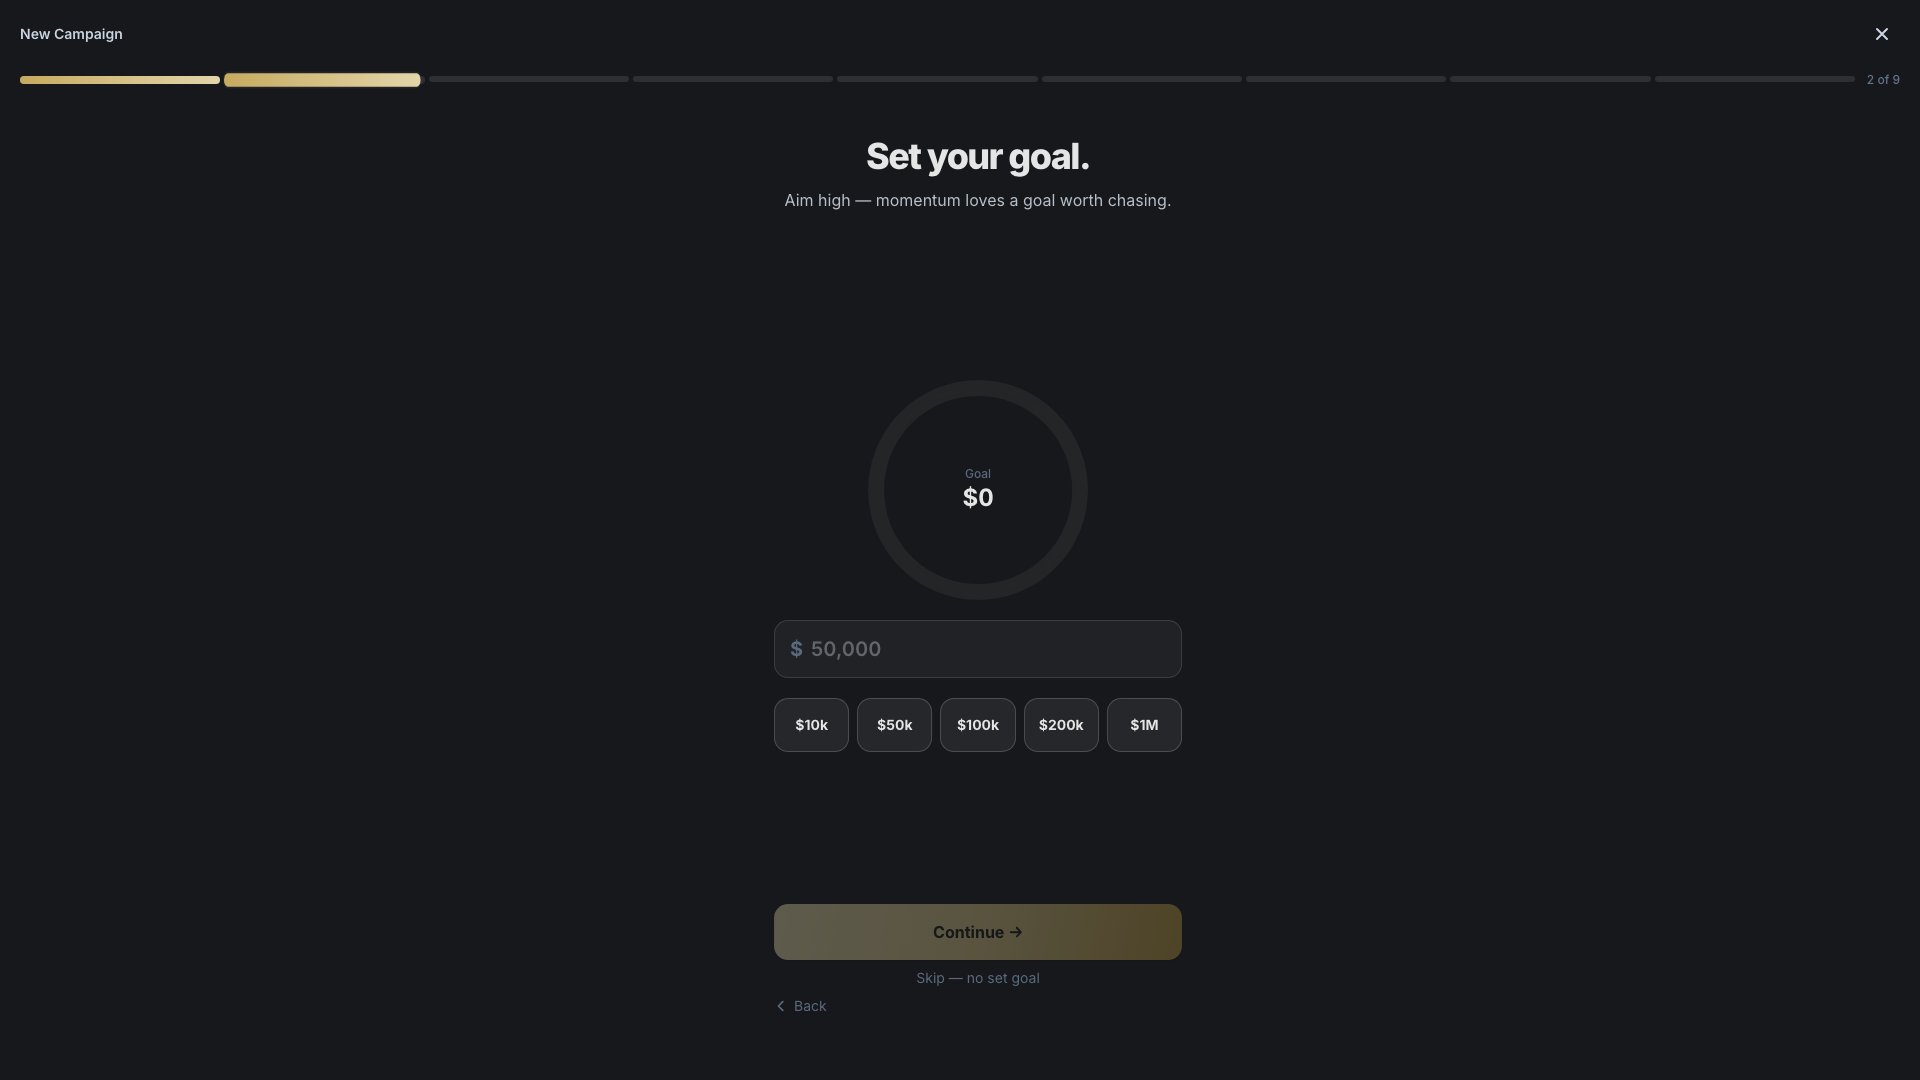
4. Set a fundraising goal
Pick a preset ($10k–$1M) or type your own figure. The goal drives the progress ring on your public page and projector display — it’s entirely optional; skip it if you’d rather not show a target.
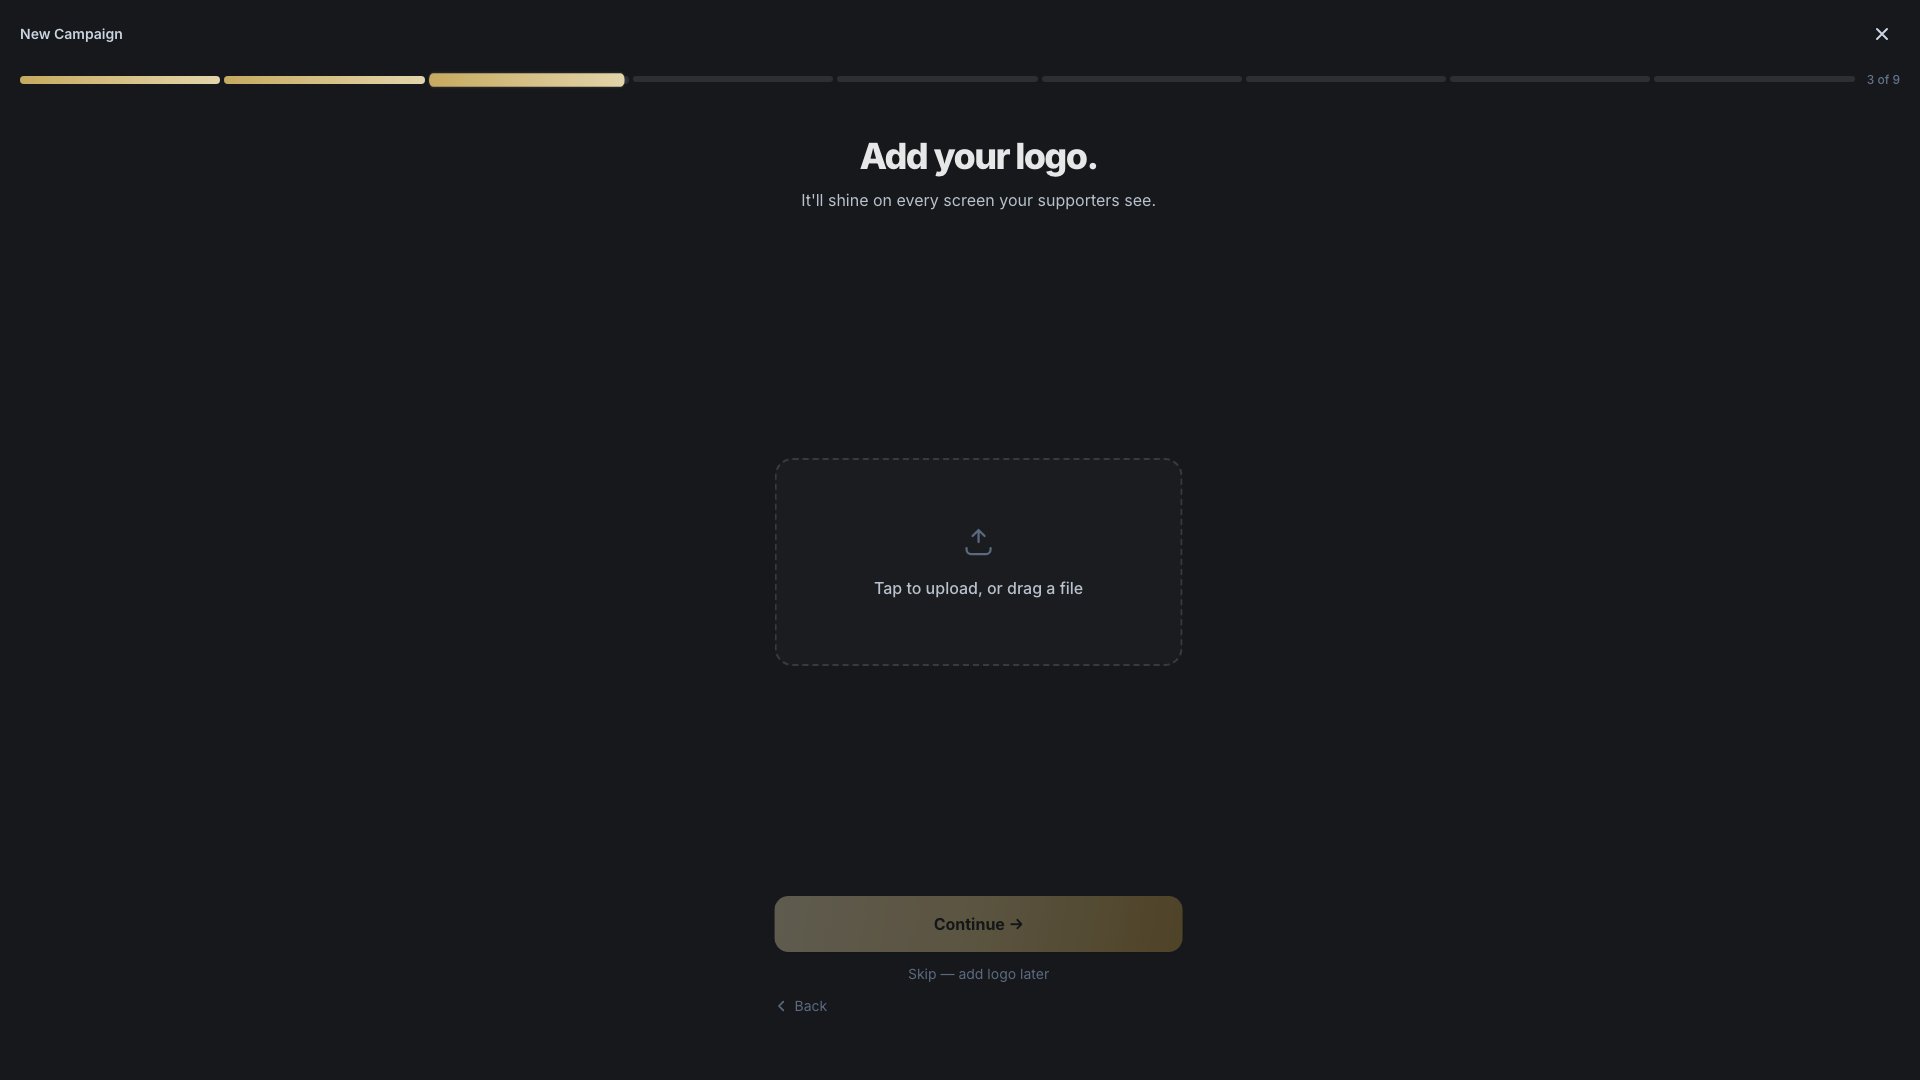
5. Add a logo, or skip for now
Upload your organisation’s logo — it appears on the public campaign page and projector display. This is also the step that actually creates the campaign; everything before it was just a draft in the wizard.
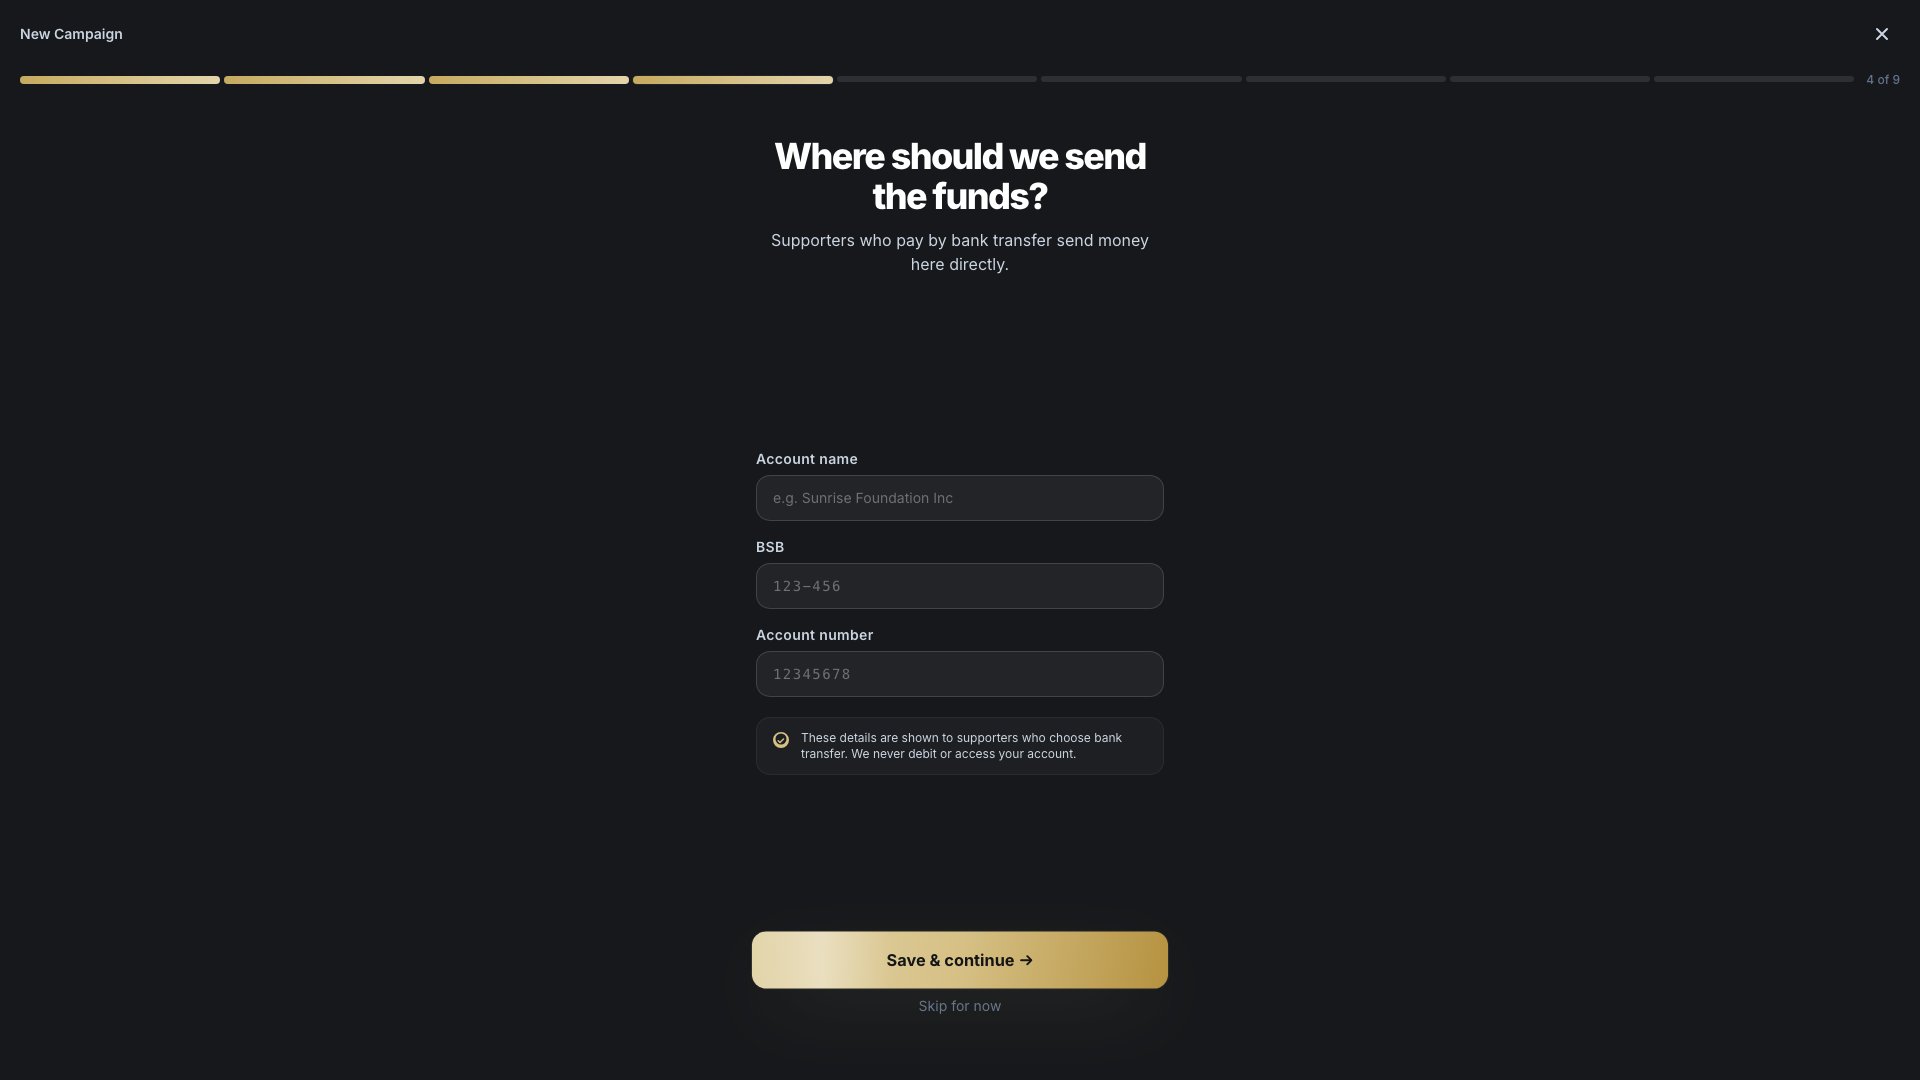
6. Bank details for transfers
Enter your account name, BSB and account number if you want to accept direct bank transfers alongside card payments. These details only appear to supporters who choose bank transfer as their payment method — skip this if card payments (next step) cover you.
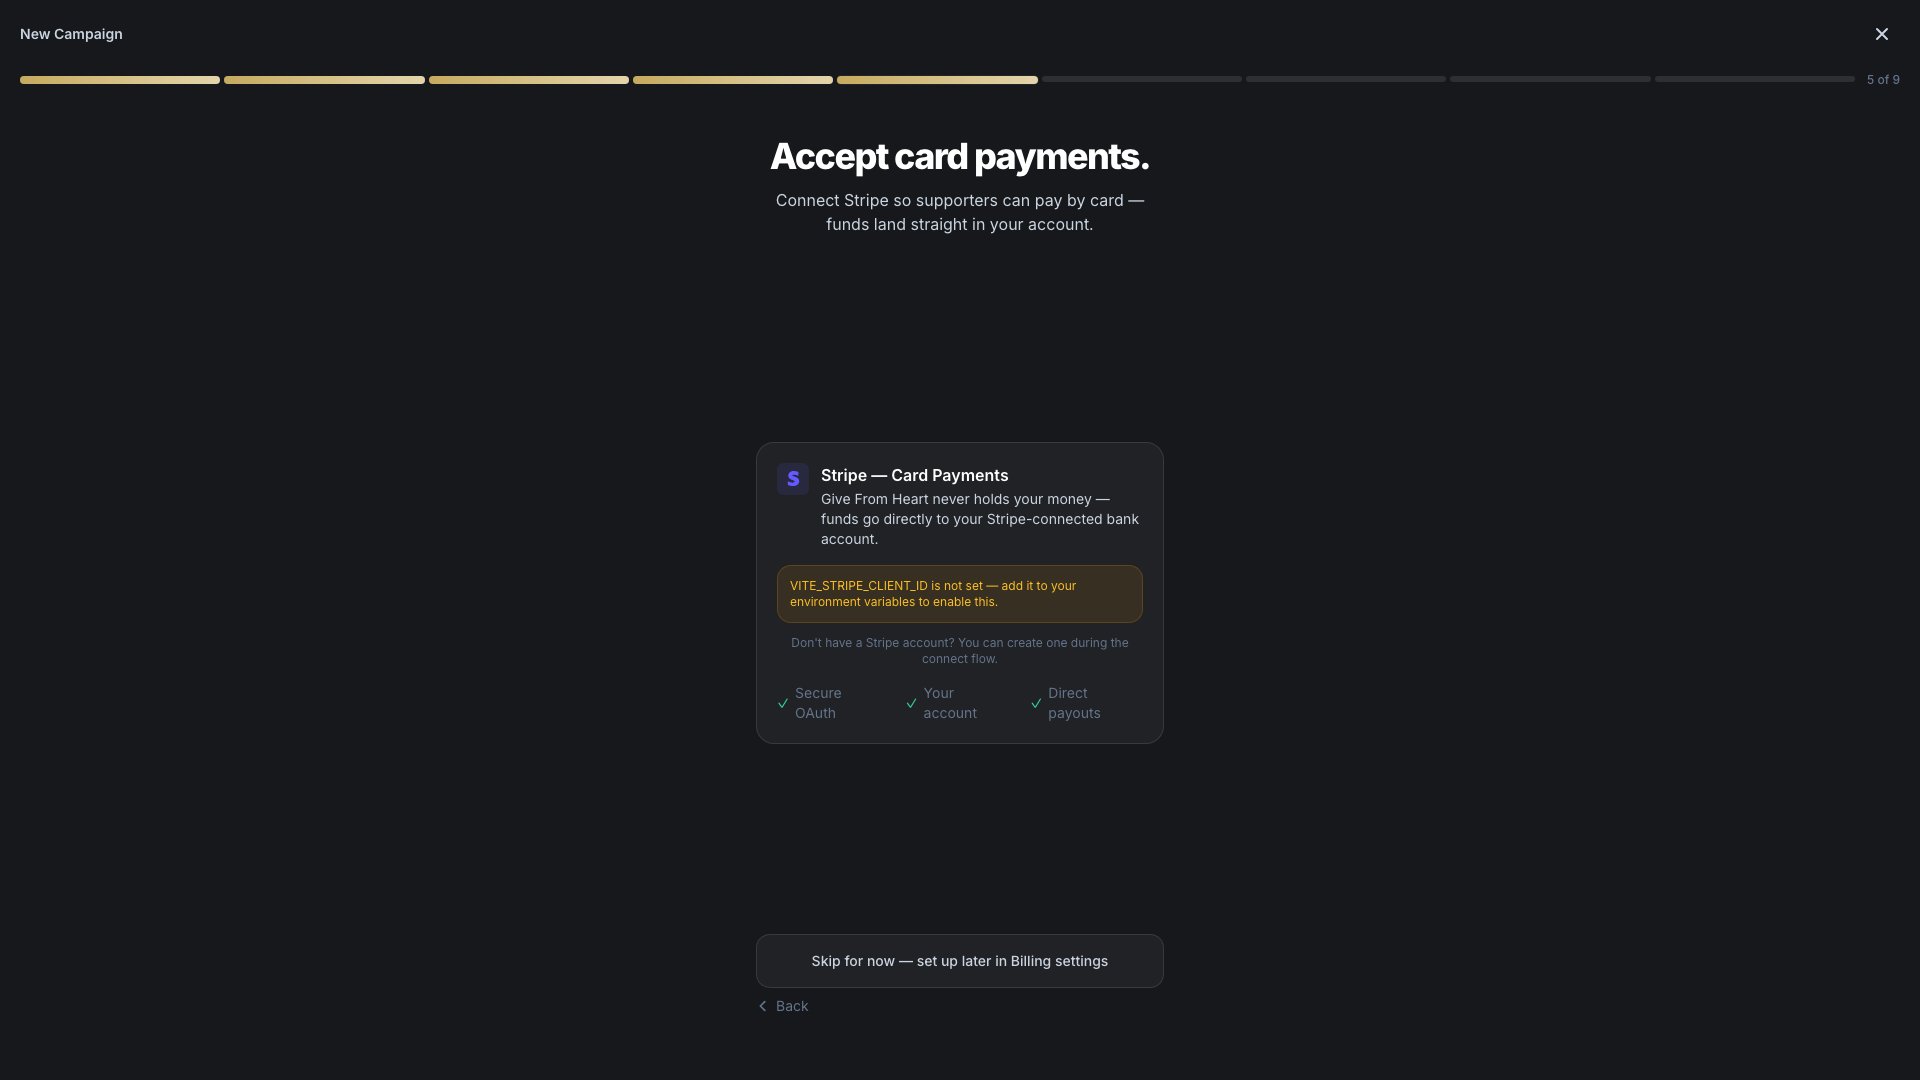
7. Connect Stripe for card payments
Connect a Stripe account so supporters can pay by card, with funds landing directly in your account — Give From Heart never holds your money. If your organisation already has a connected Stripe account from a previous campaign, you’ll be offered the option to reuse it instead of connecting again.
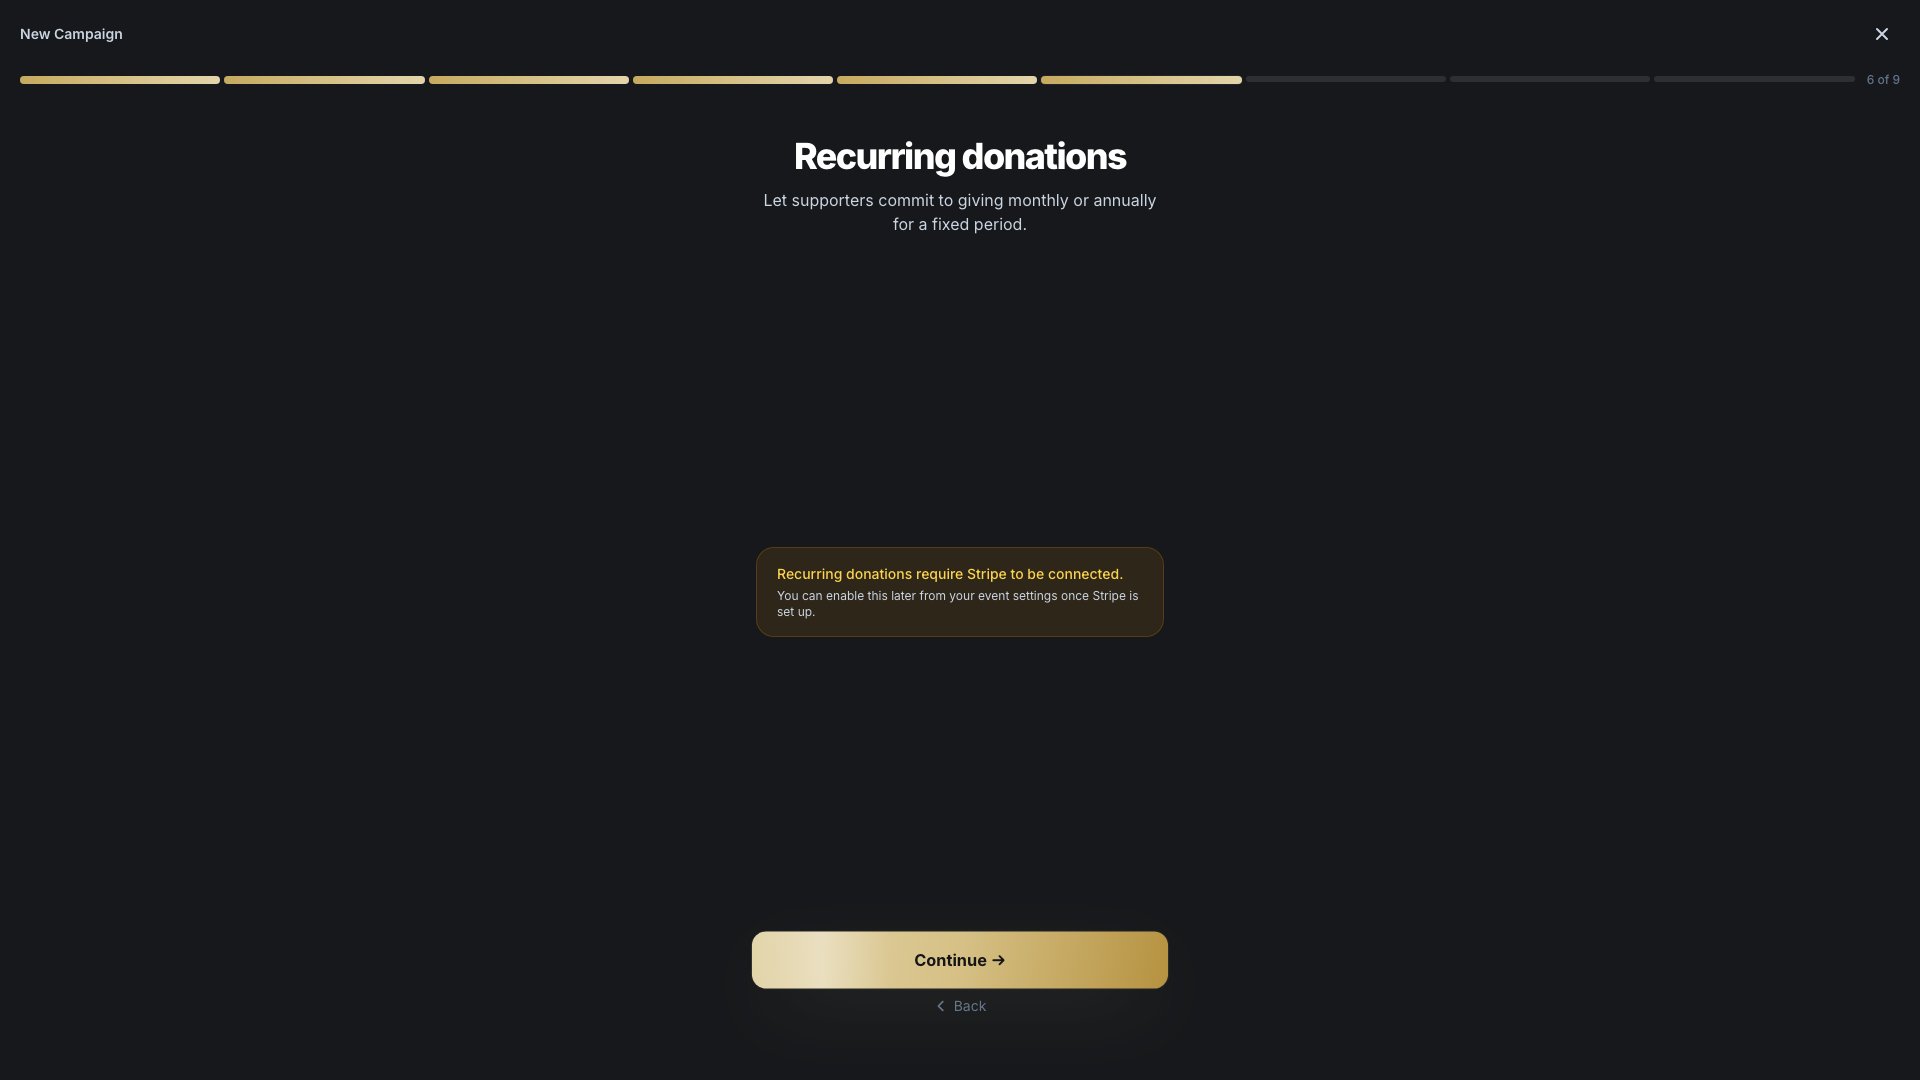
8. Recurring donations
If Stripe is connected, decide whether supporters can commit to a monthly gift instead of a one-time pledge. This step is skipped automatically if you didn’t connect Stripe — recurring billing needs it.
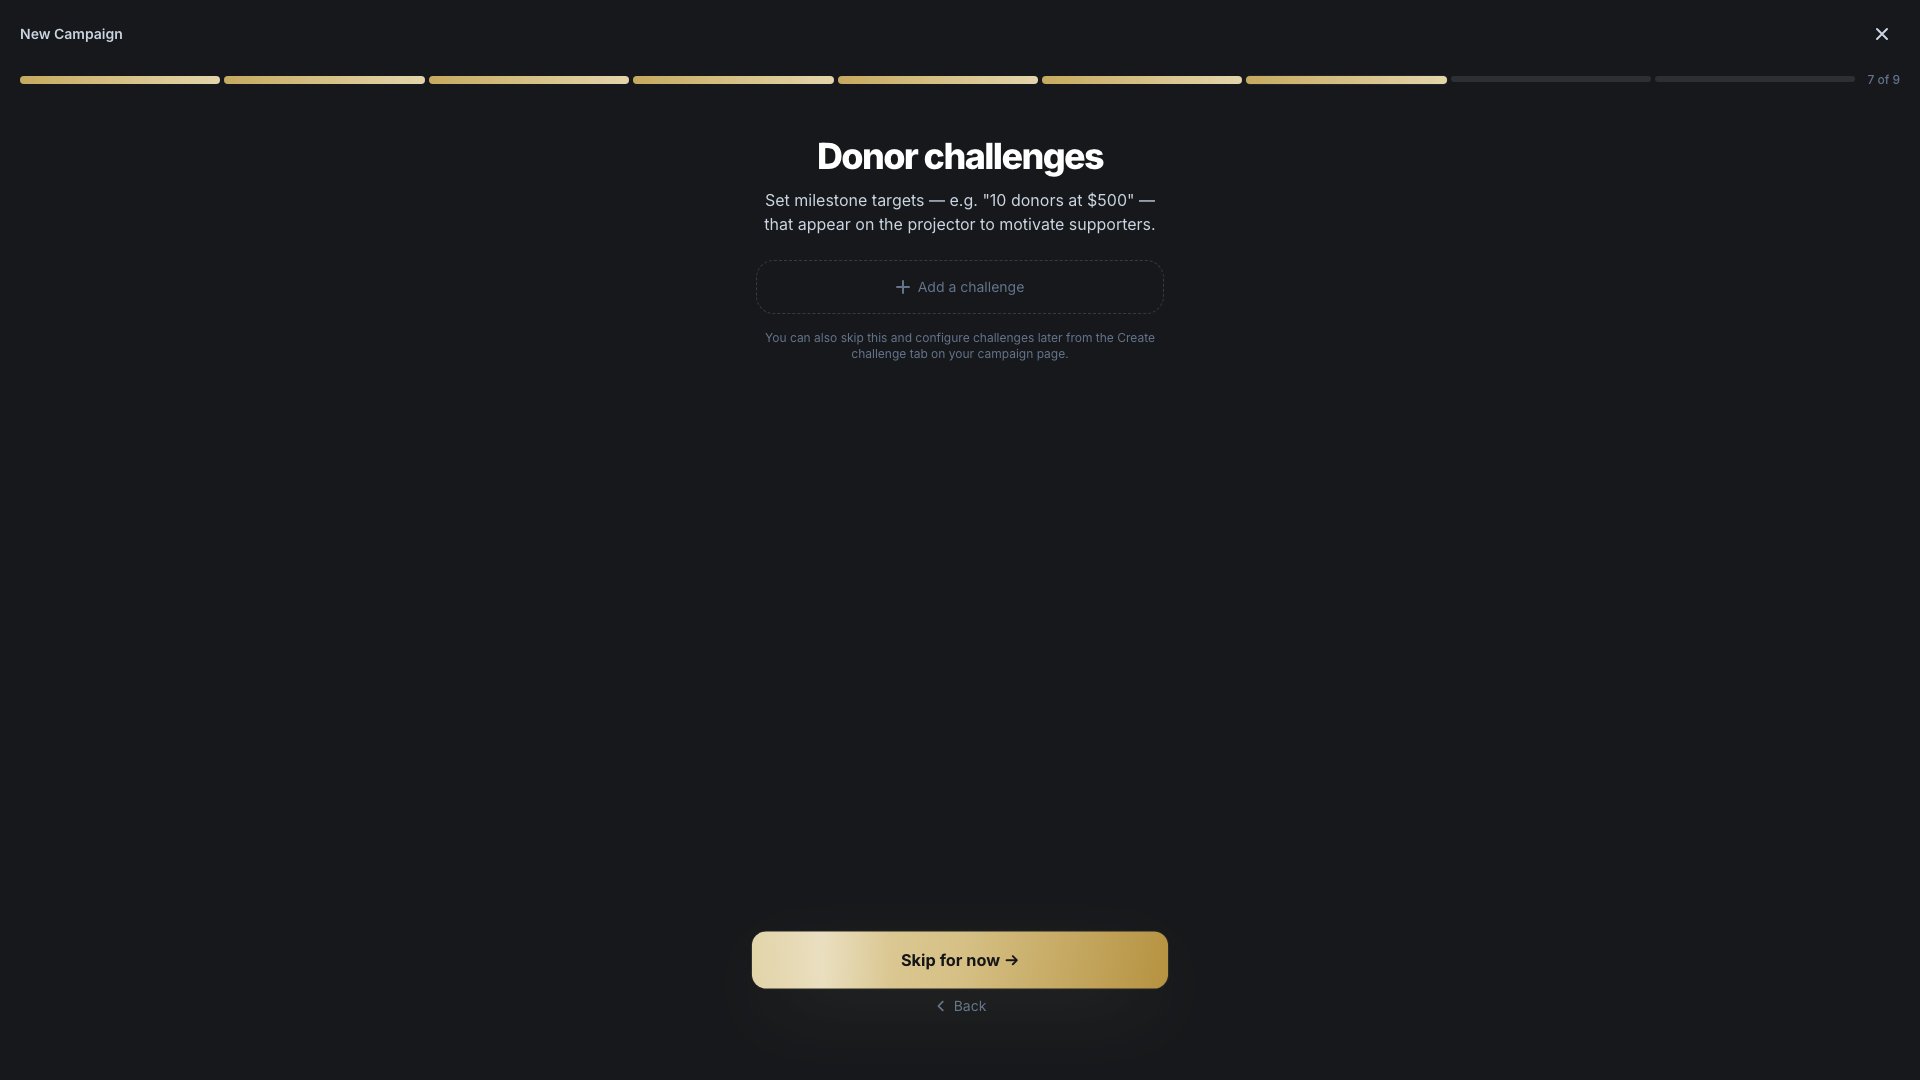
9. Fundraising challenges
Optionally set up a matching challenge (e.g. "the first 10 donors get matched by our board") — challenges show as a progress panel on the projector display and public page, and are a proven way to create urgency early in an event.
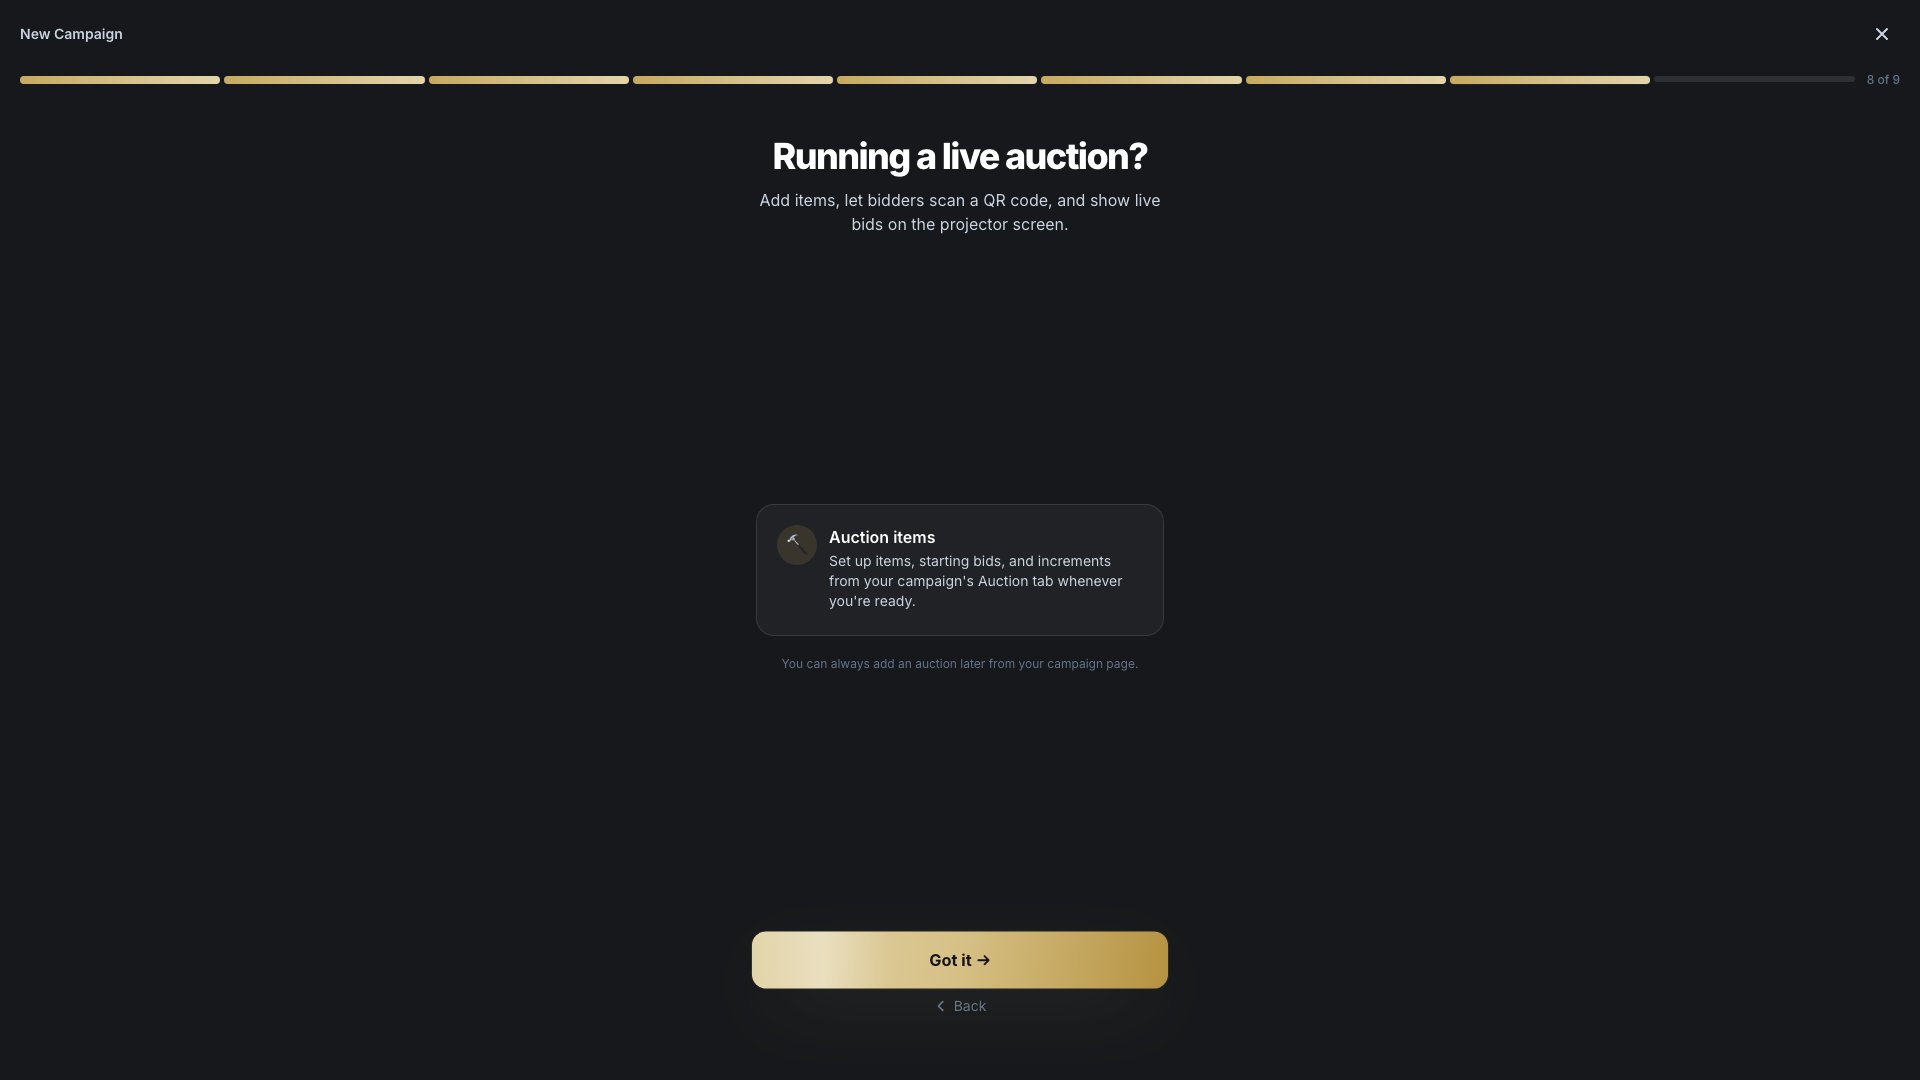
10. Auction setup
A shortcut into auction setup if you’re running one — or skip it here and set it up later from the Auctions page, following the auction guide below.
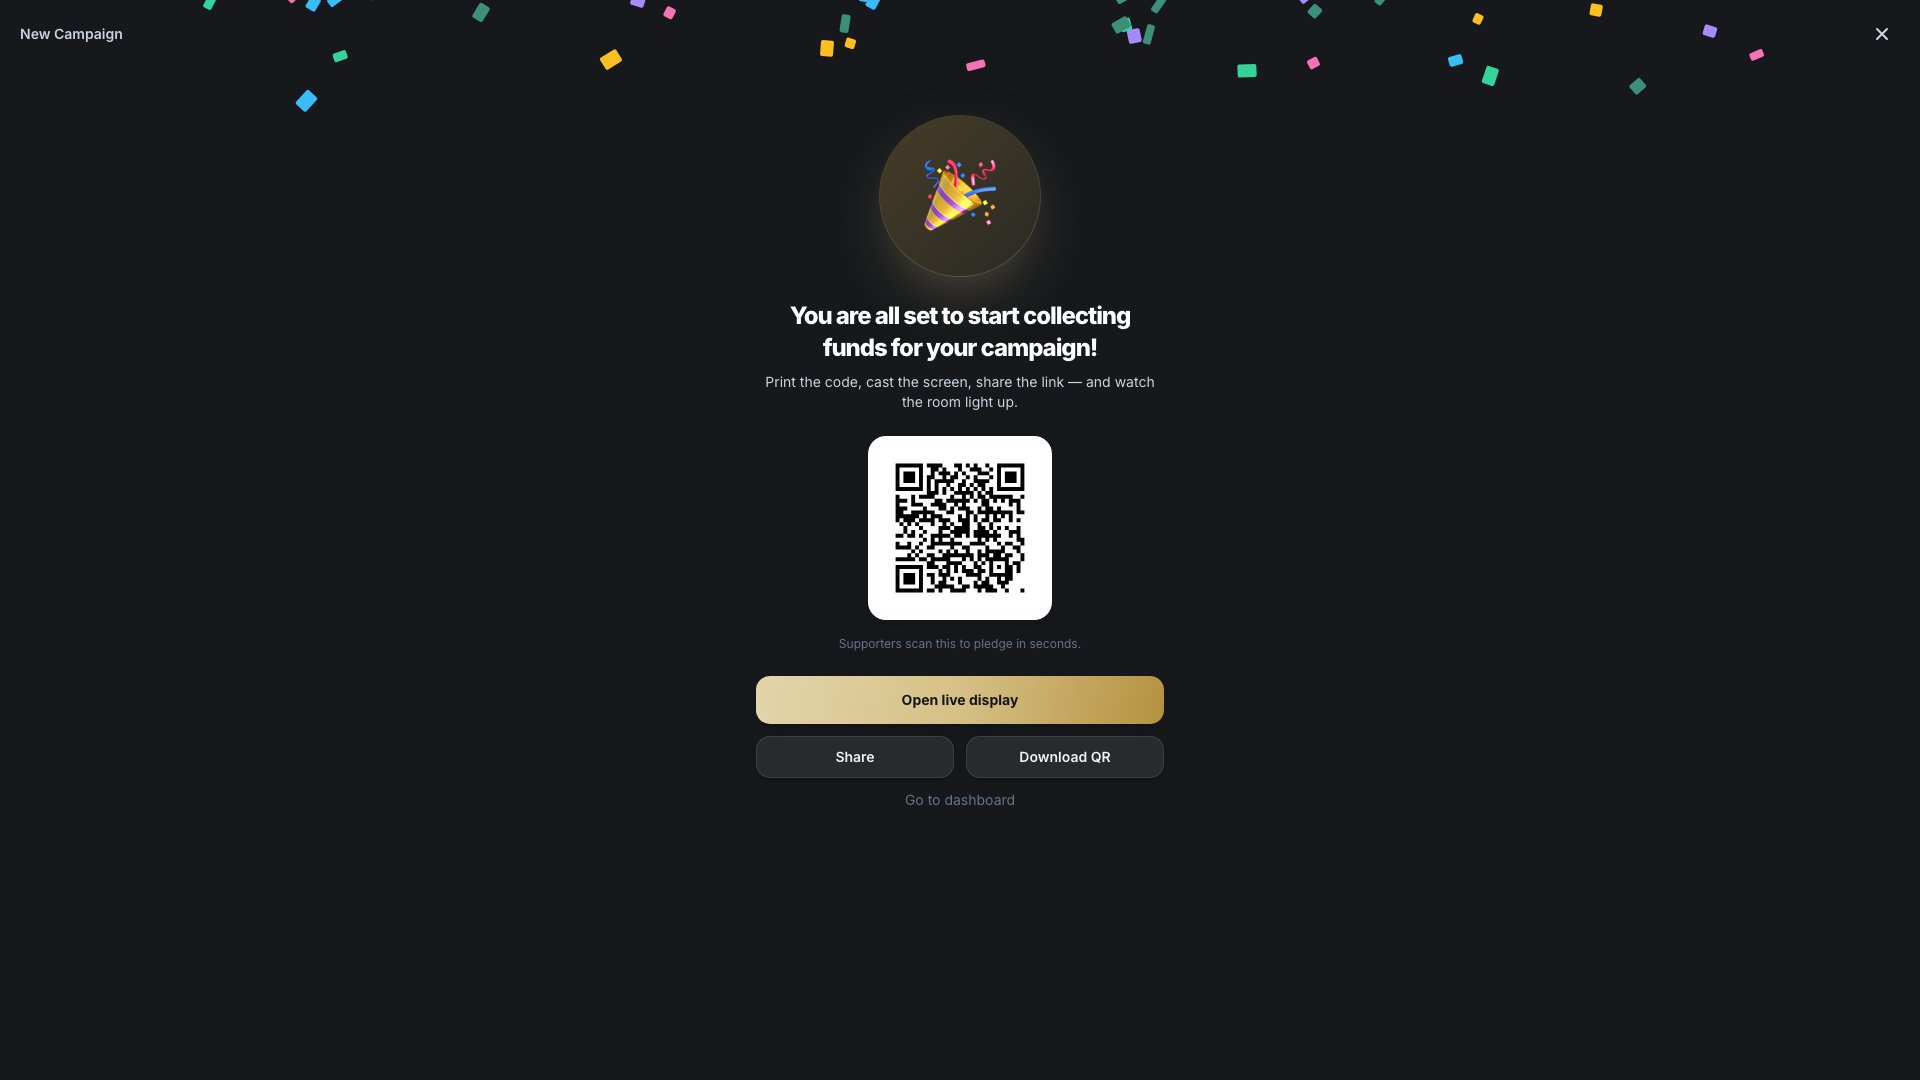
11. Your campaign is live
The wizard finishes with your campaign’s public link and QR code, ready to share or print. From here, head to Tickets, Auctions, Marketplace, Registrations or Checkout to configure whichever features your event needs — each has its own step-by-step guide below.