Guide · Updated 6 August 2026
How to set up event ticketing, step by step.
Ticket sales settle into the same pledge ledger as every other gift, with oversell-safe inventory and per-ticket QR codes for the door. Here’s the real Tickets tab, screenshotted at every step.
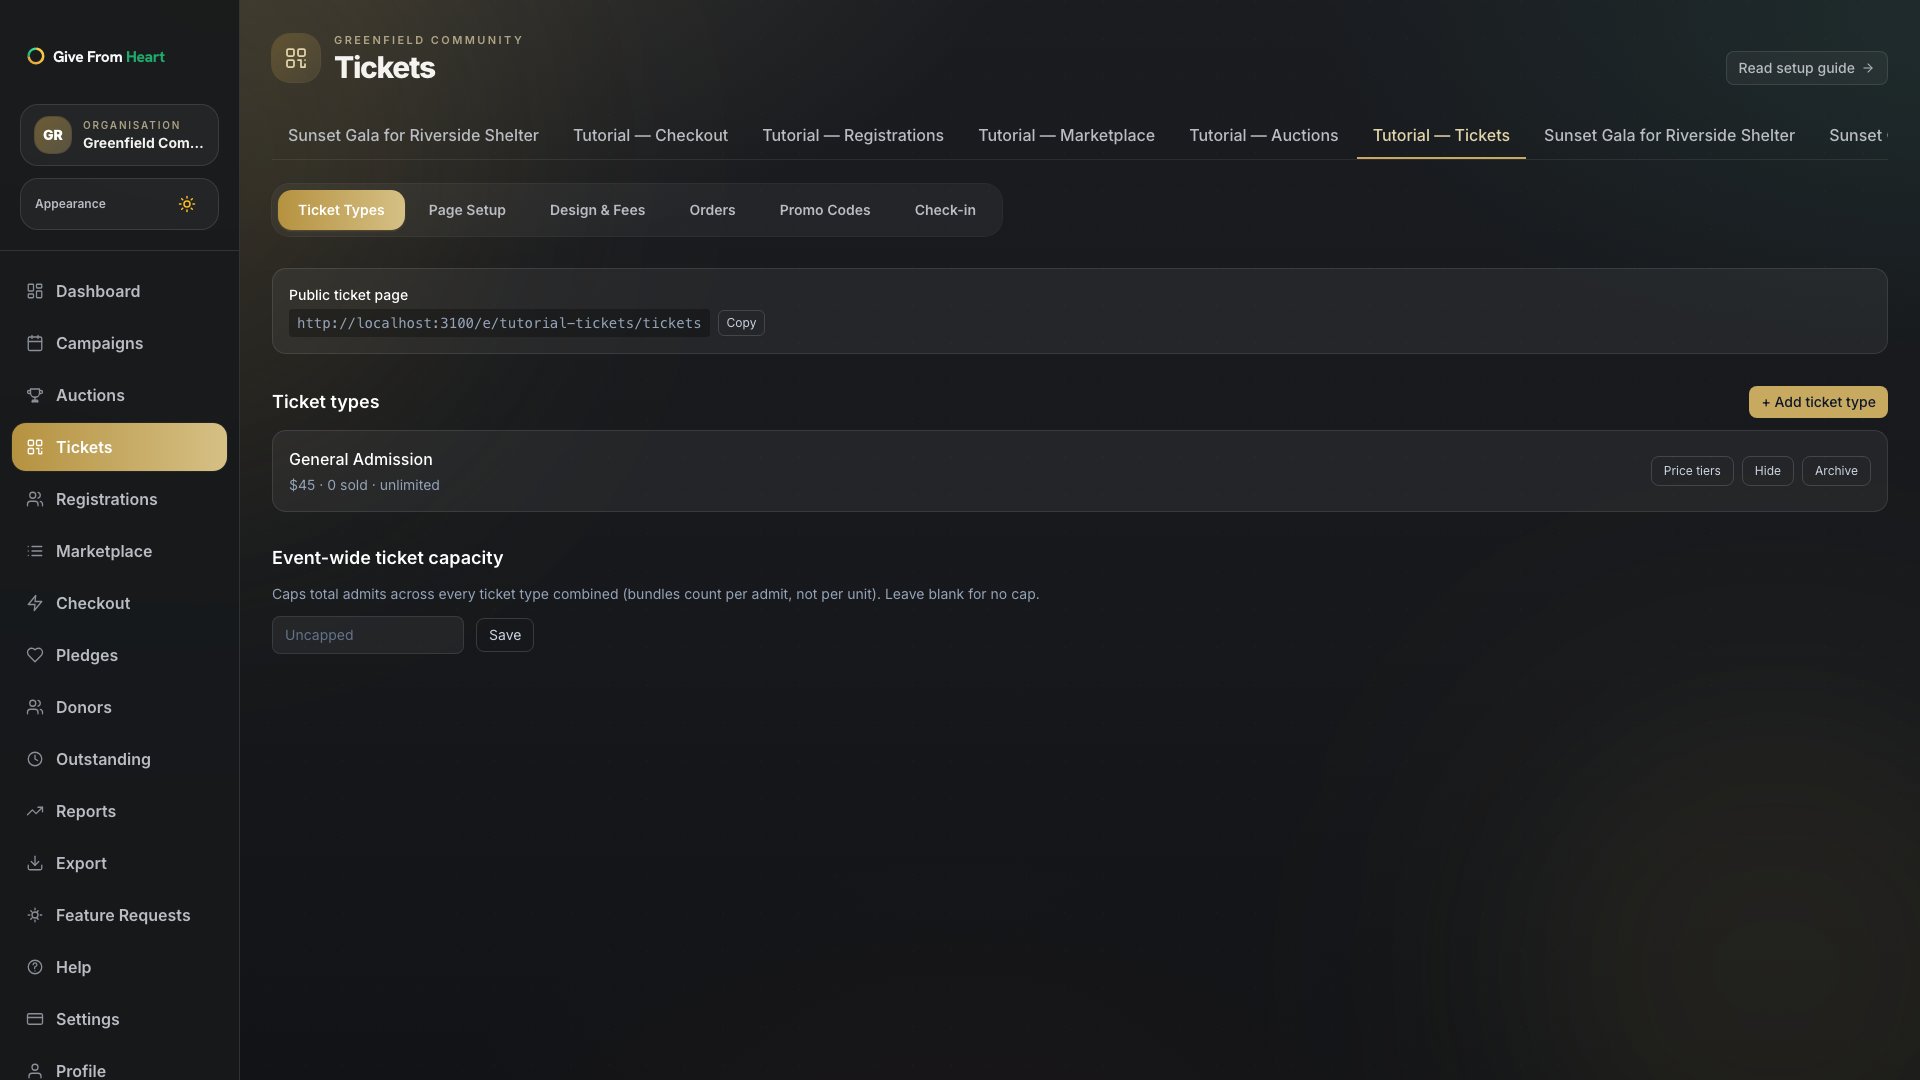
1. Open Tickets → Ticket Types
From a campaign, go to Tickets in the left nav. The tab opens on Ticket Types, which lists everything you’ve created so far and shows your public buy link — worth copying once you’ve added at least one type.
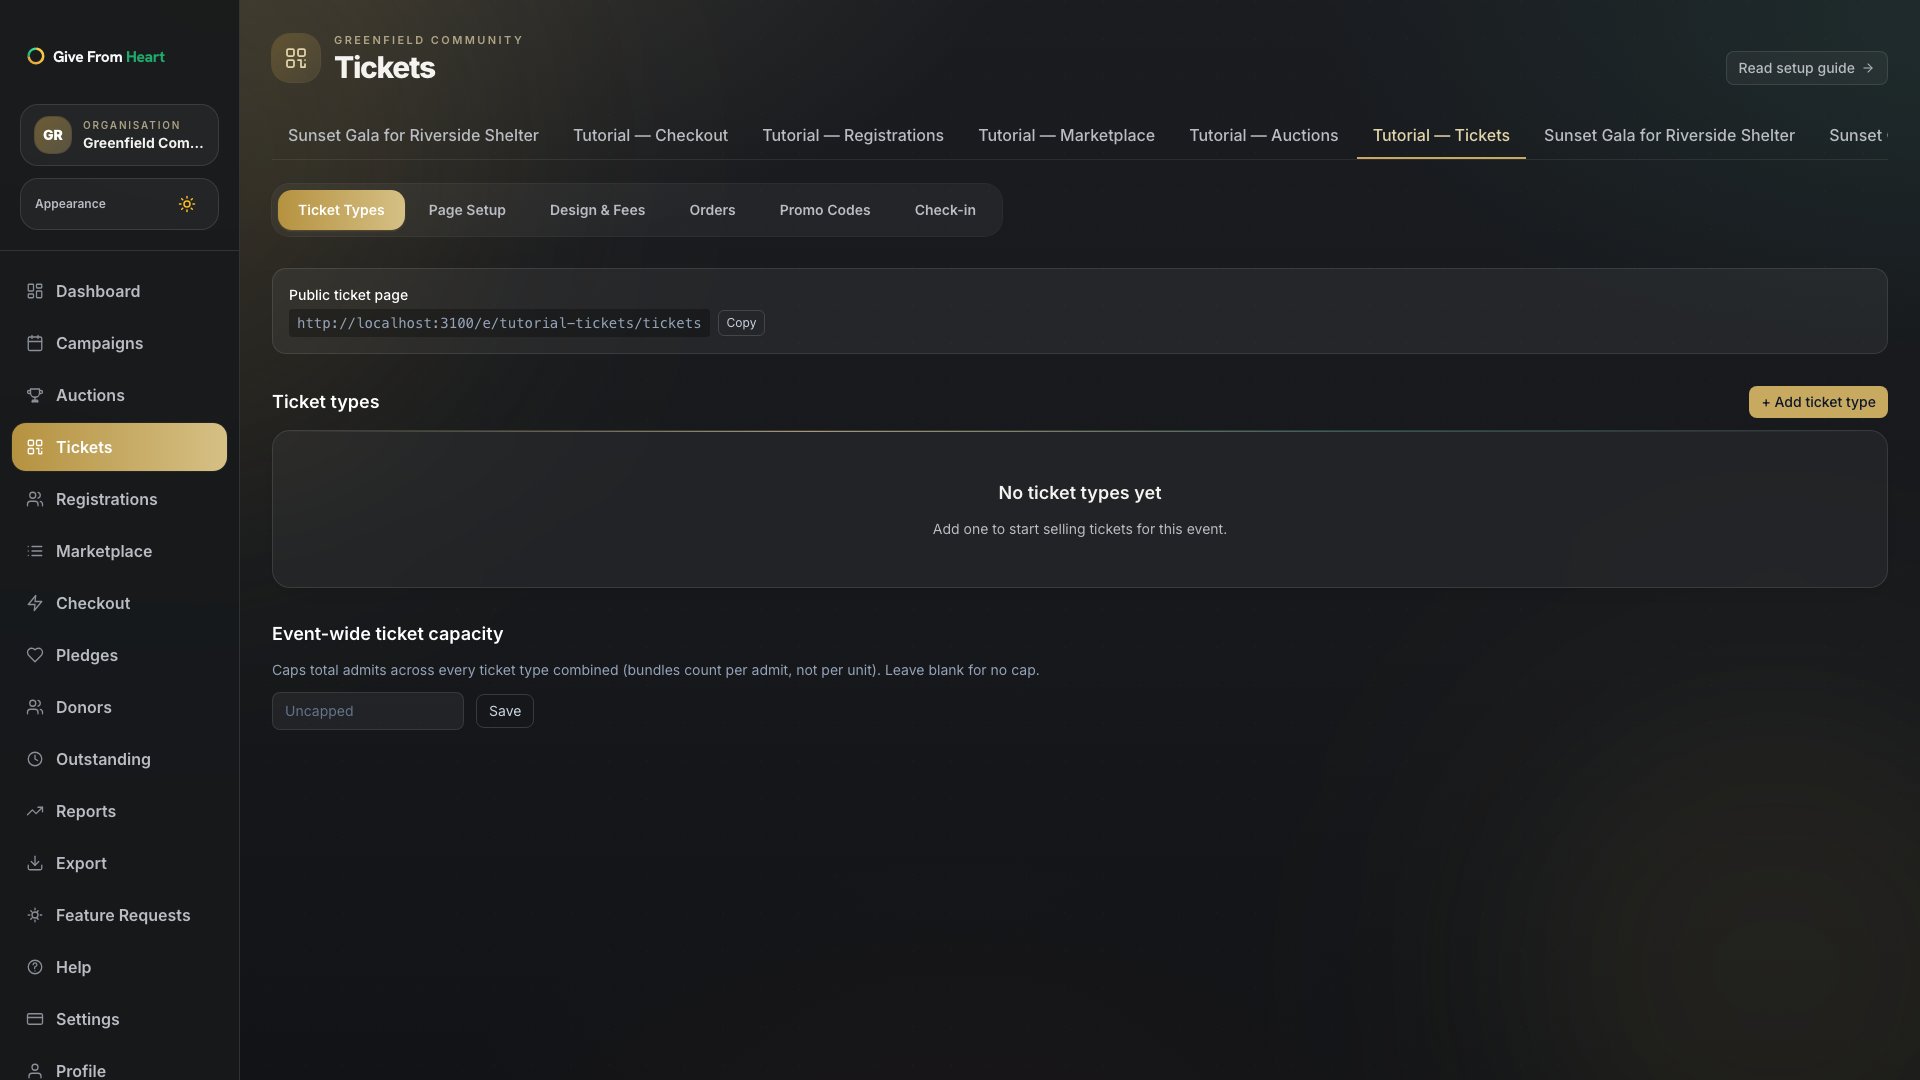
2. Add a ticket type
Press "+ Add ticket type" and fill in a name — the only required field. Price defaults to $0 (a free ticket), and capacity, min/max per order and access codes are all optional: leave capacity blank for unlimited, and set an access code if you want a type (VIP, comp) hidden from the public list unless someone enters the code.
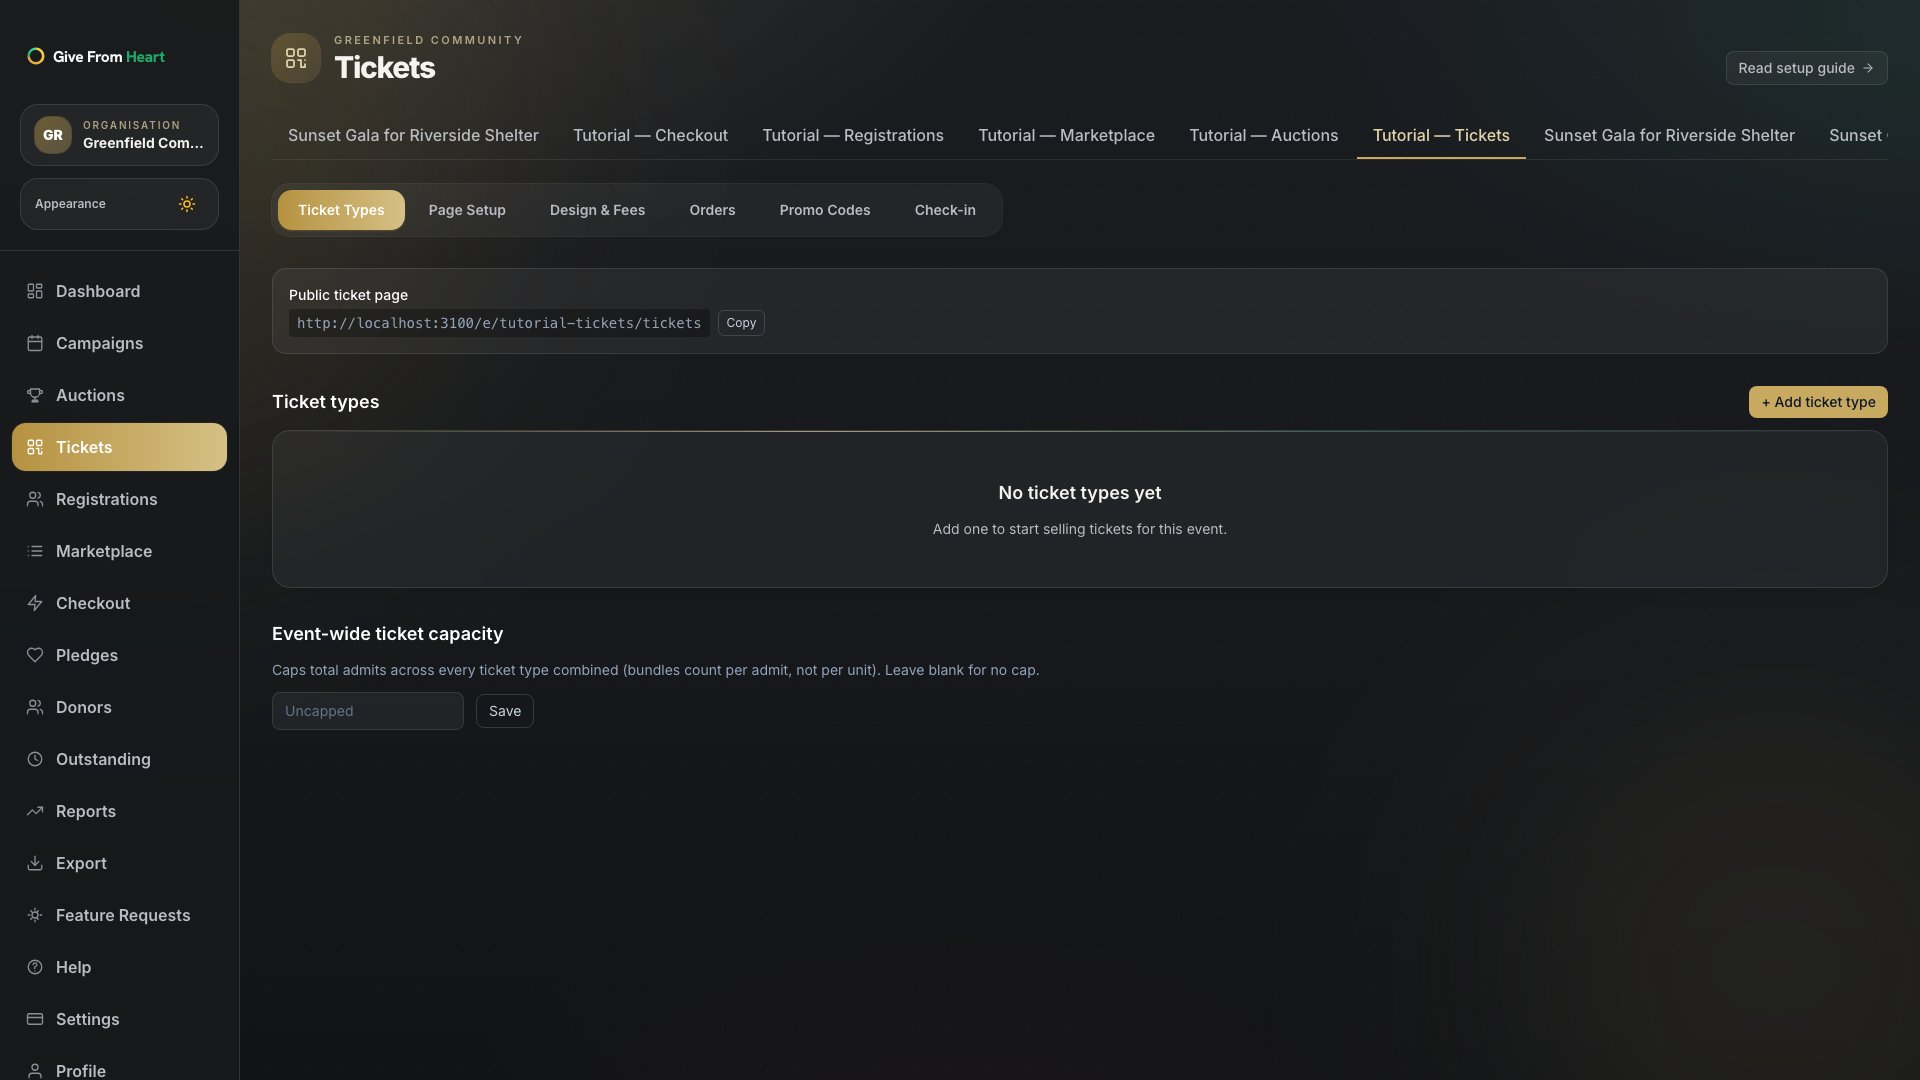
3. Open price tiers for a type
Each ticket type can carry its own early-bird pricing — press "Price tiers" on the type’s row, then "+ Add tier" to set a date- or quantity-capped discount. Tiers fall back to the standard price automatically once they expire or sell out.
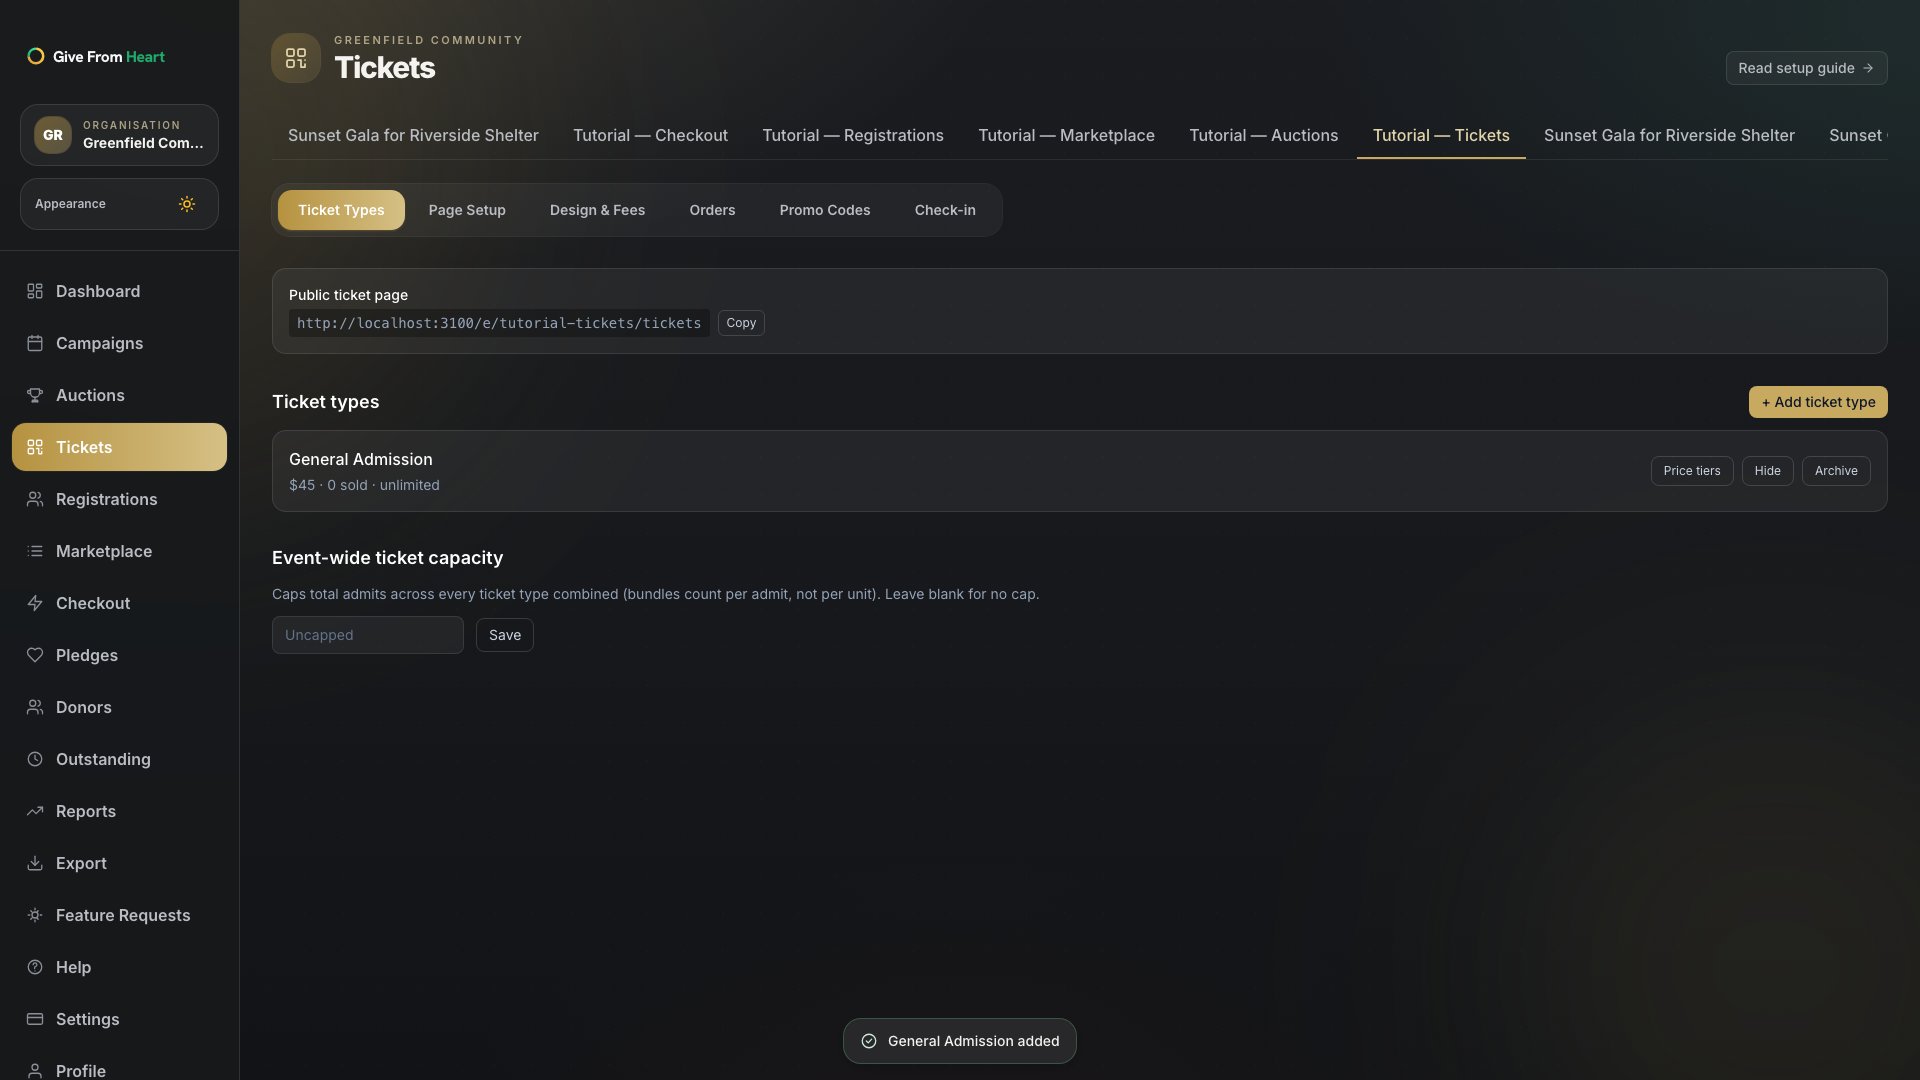
4. Customize the public ticket page
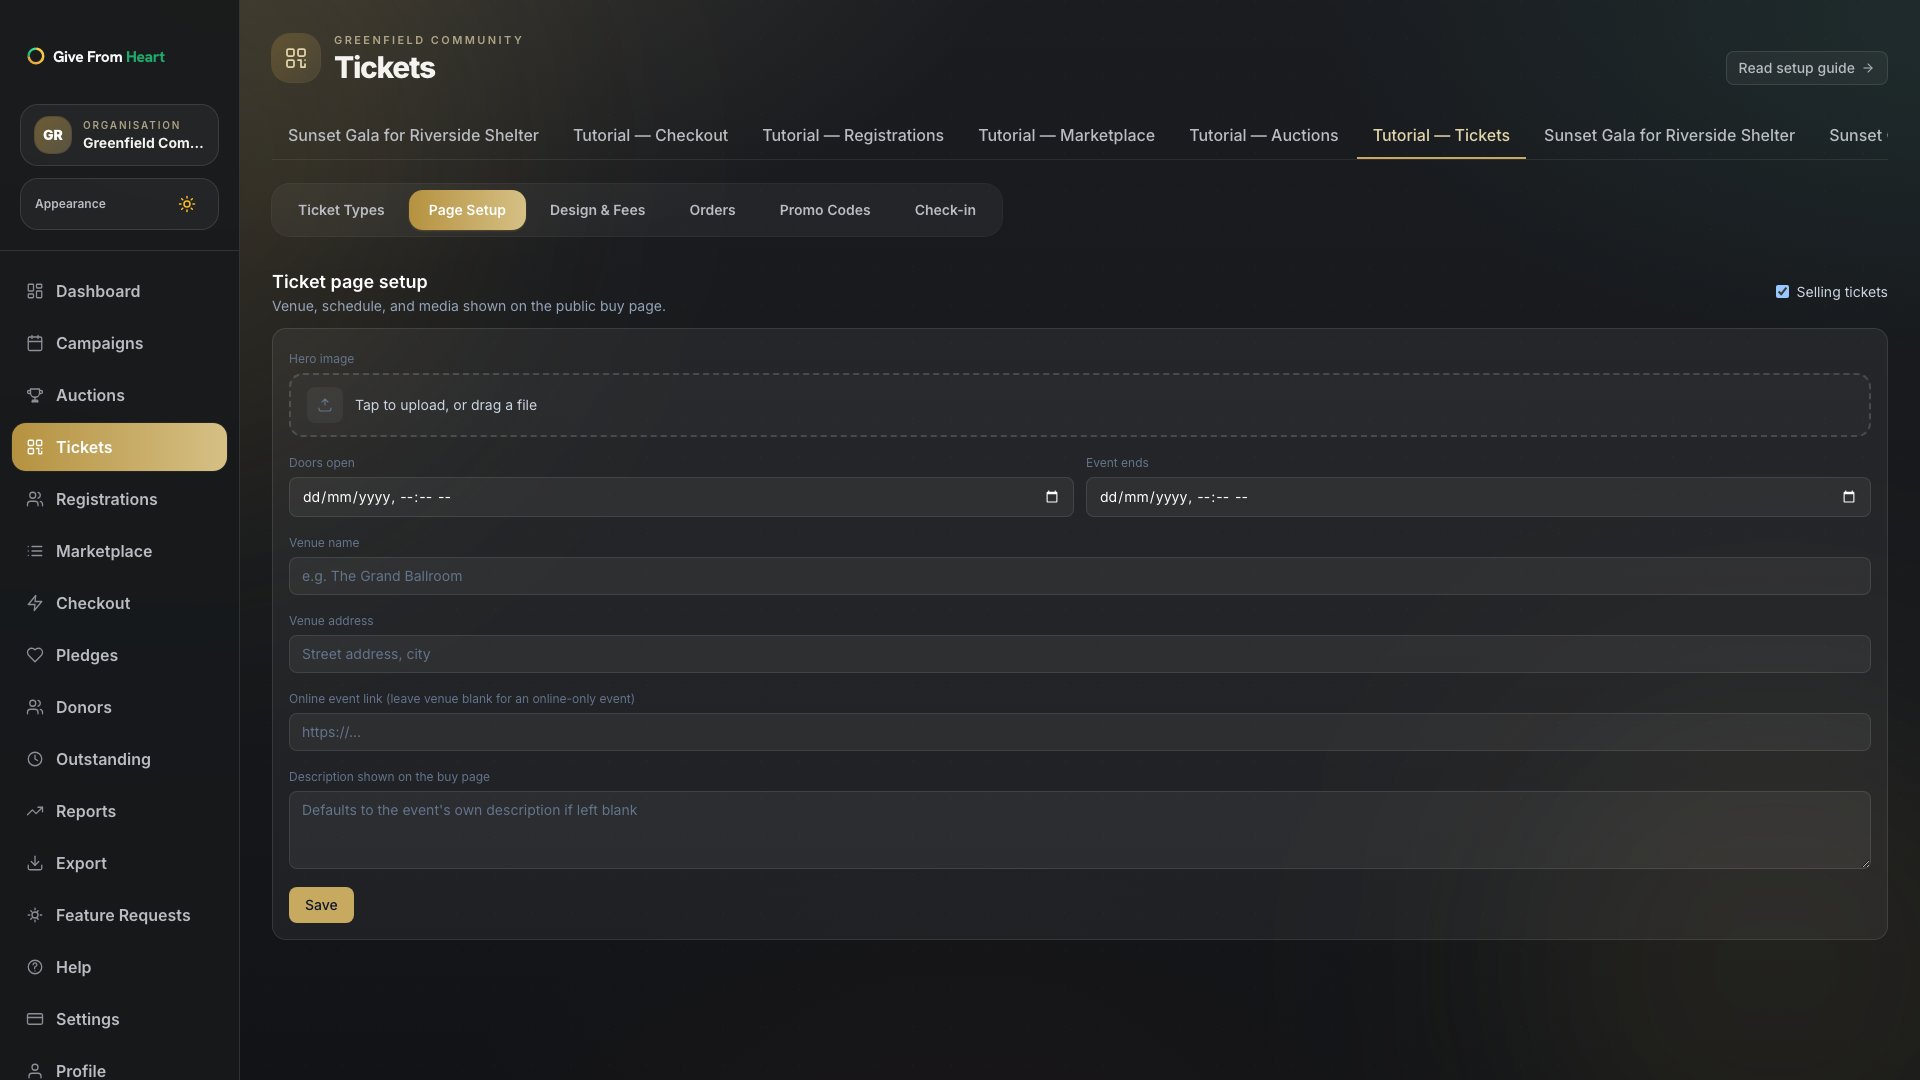
Switch to Page Setup to add your venue name and address (or an online-event link for virtual events), the event schedule, and a description. This is the page buyers land on when they follow your link — the more complete it is, the fewer "where is this?" messages you’ll get.
5. Add a promo code
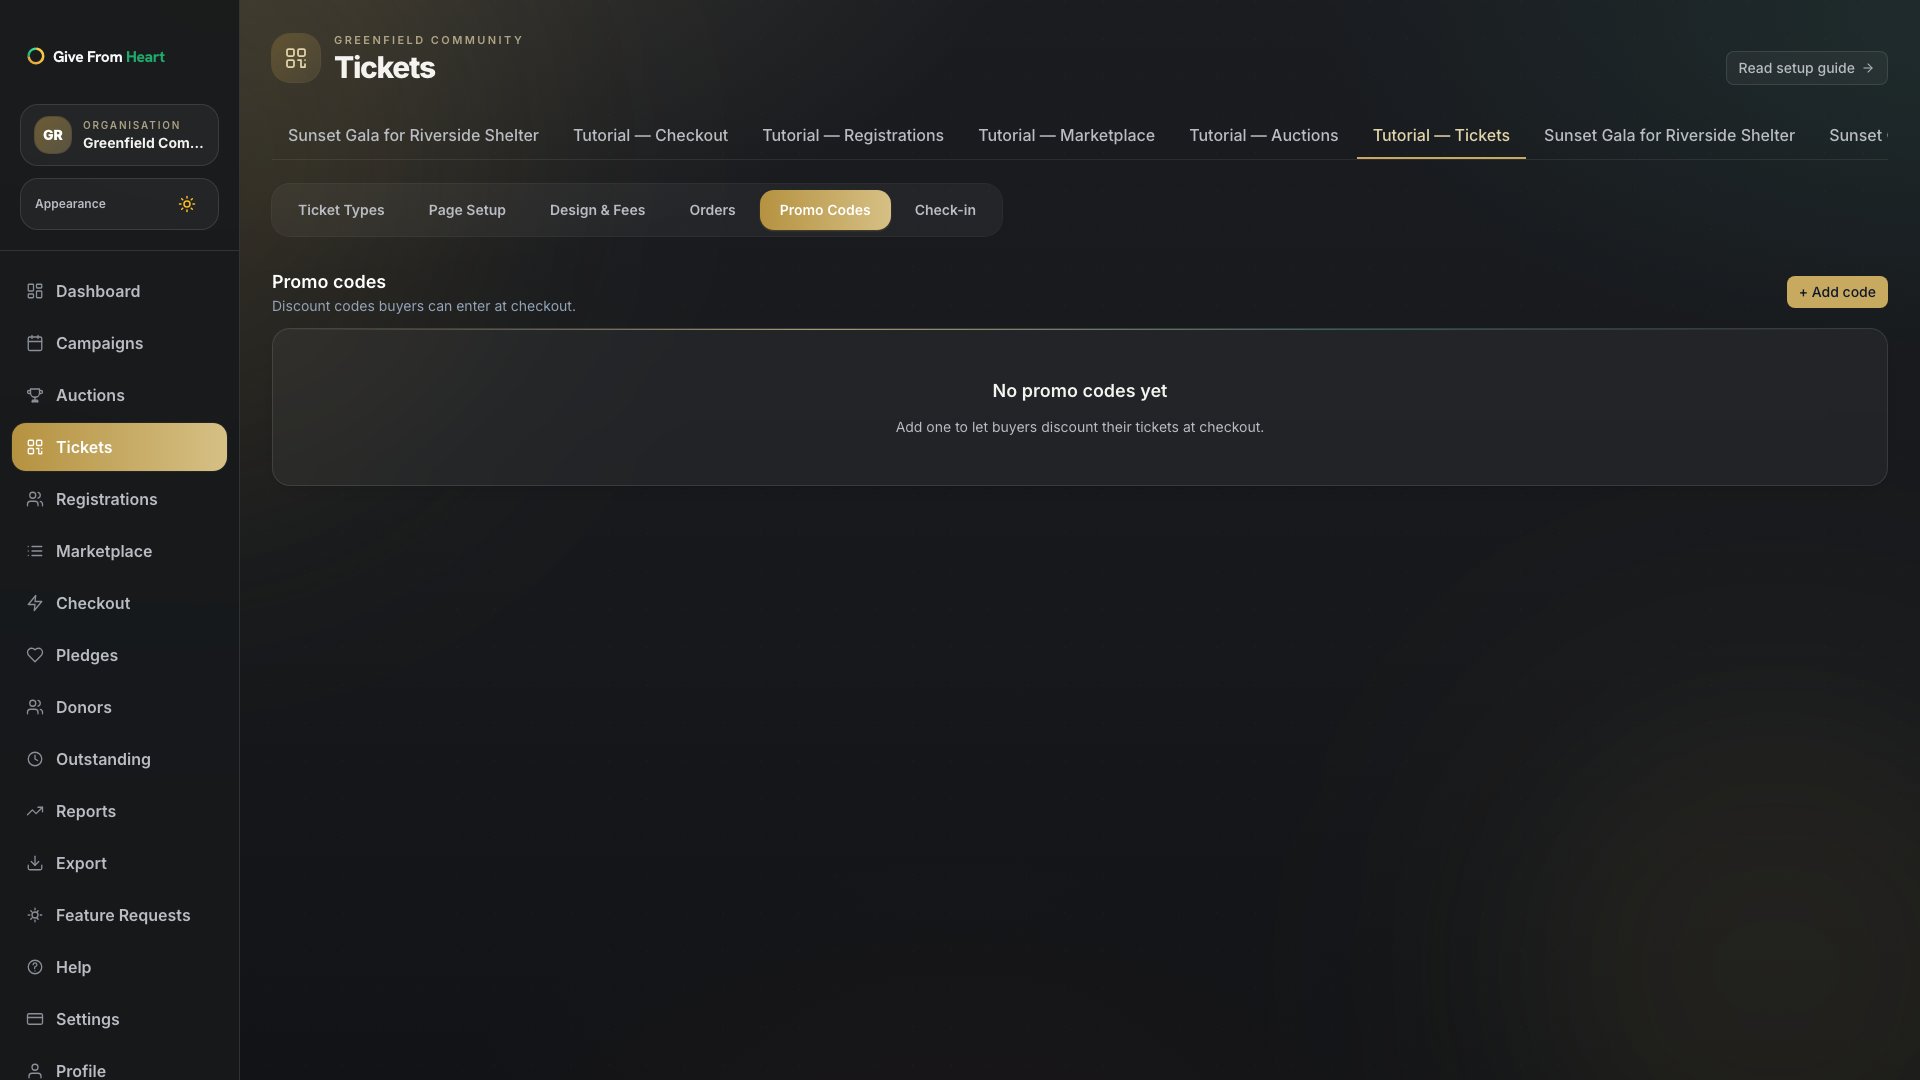
Under Promo Codes, press "+ Add code" for a percentage or fixed-amount discount, with an optional cap on total uses. Codes can be scoped to a specific ticket type or apply across all of them.
6. Share the public buy link
Back on Ticket Types, copy the buy link (or use the campaign’s QR code from the Campaigns tab) to start selling. Free orders complete instantly; paid orders collect payment through the same embedded card element every other pledge on the platform uses.